Creating and Configuring a Basic Playlist
Creating and Configuring a Basic Playlist
This article explains how to create a new playlist, configure its settings, and add media files to it.
What a playlist is
Playlists are the main tool for scheduling content on devices. Each playlist defines which media files are played, when they are played (dates, days of week, hours), and how they rotate. Playlists can be assigned to individual devices, to networks of devices, or to video walls. The platform supports several playlist types (Fuzzy, Periodic, Floating, Block, Loop Item) that determine the playback logic - see the article "Playlist Types and Priorities".
Opening the Create playlist form
Step 1. To open the Playlists page, click Playlists in the top navigation bar.
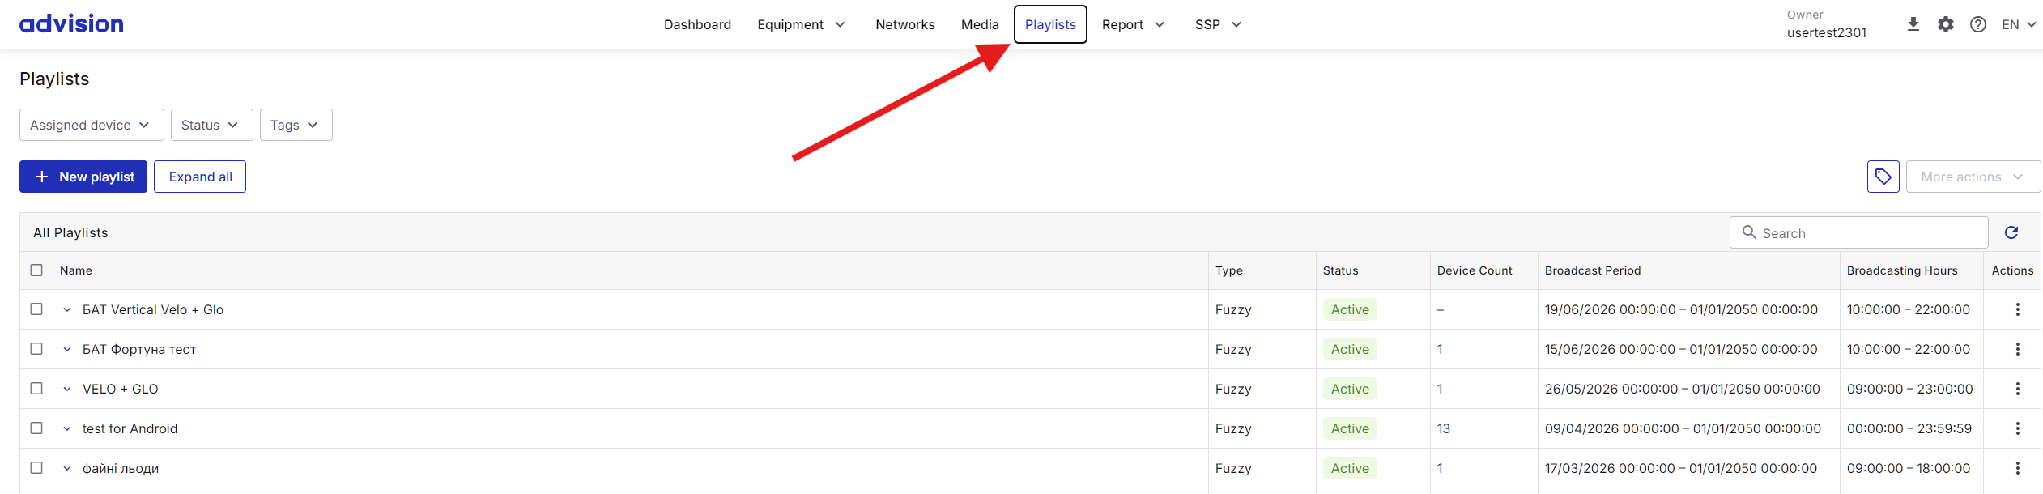
The Playlists page.
If the Pinned left menu option is enabled in the gear menu, the page can also be opened from the left menu: click the three-line icon in the top-left corner and select Playlists.
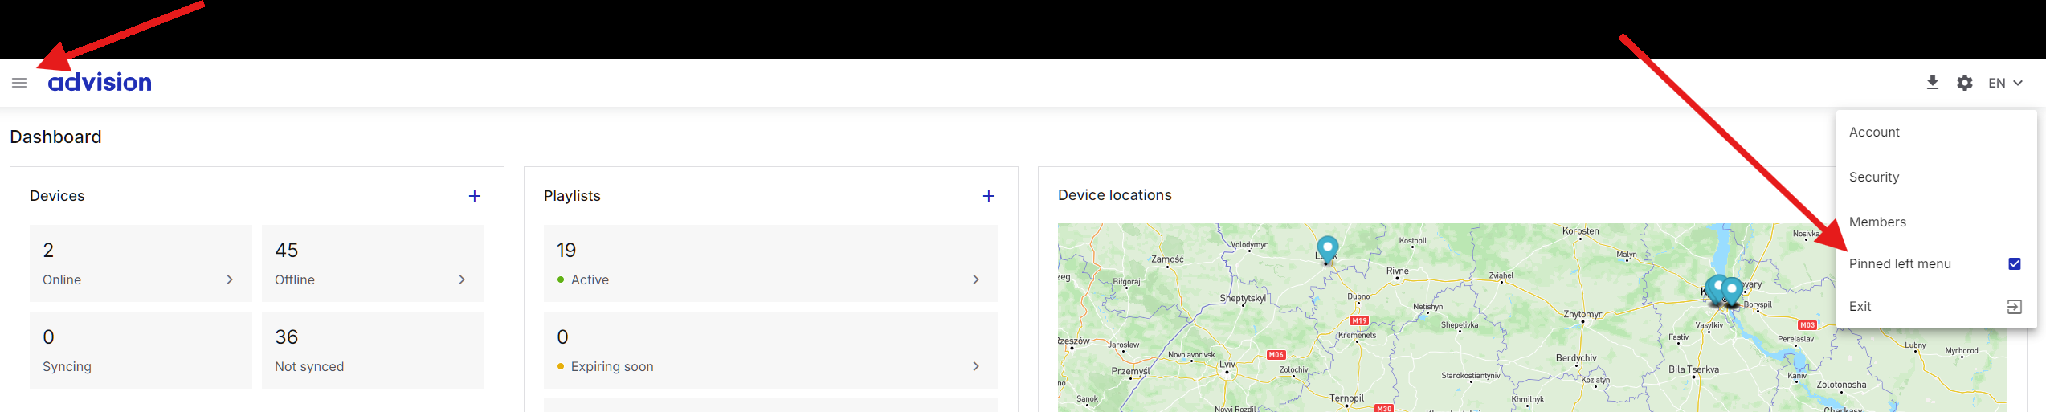
The three-line icon that opens the left menu.
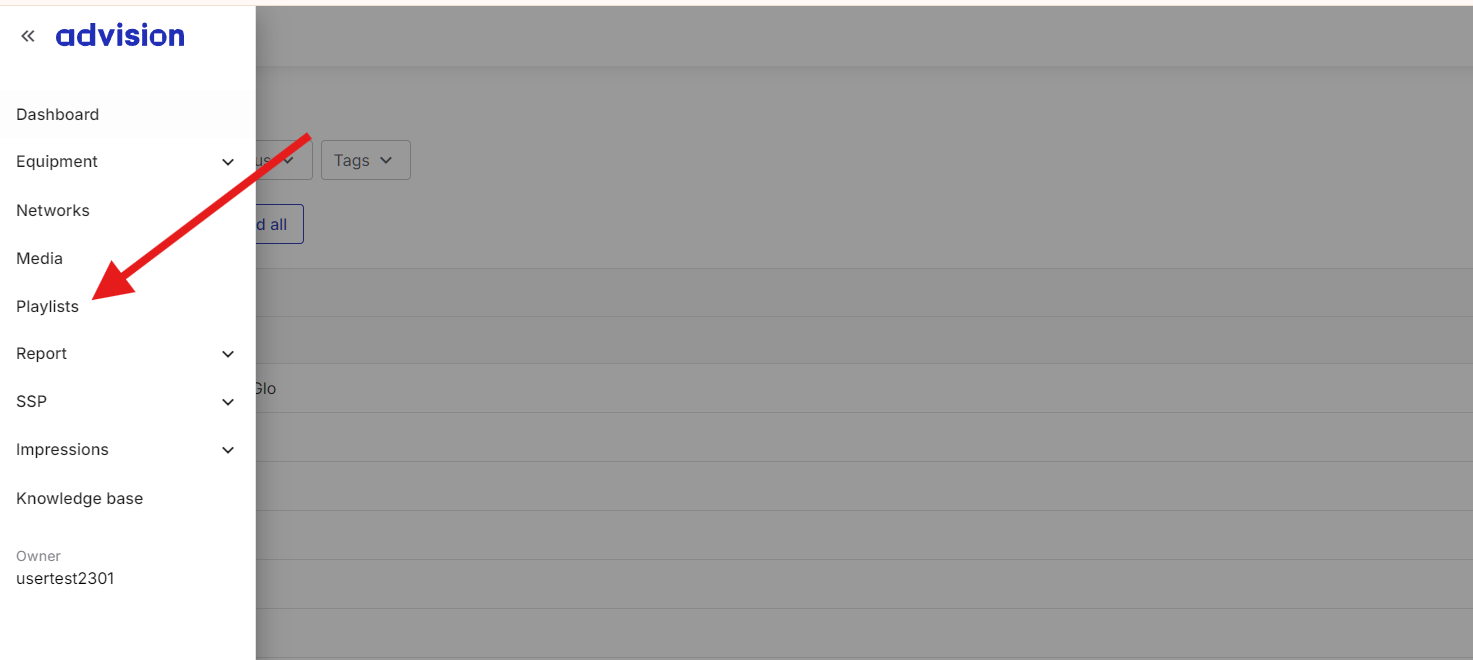
The Playlists item in the left menu.
Step 2. Click the New playlist button above the playlist list.

The New playlist button.
The platform opens the Create playlist form. On the left side of the form, a preview area shows how the playlist type is visualized. The right side contains all the configuration fields, starting with the Name field at the top, followed by the Playback Schedule section, and additional settings below.
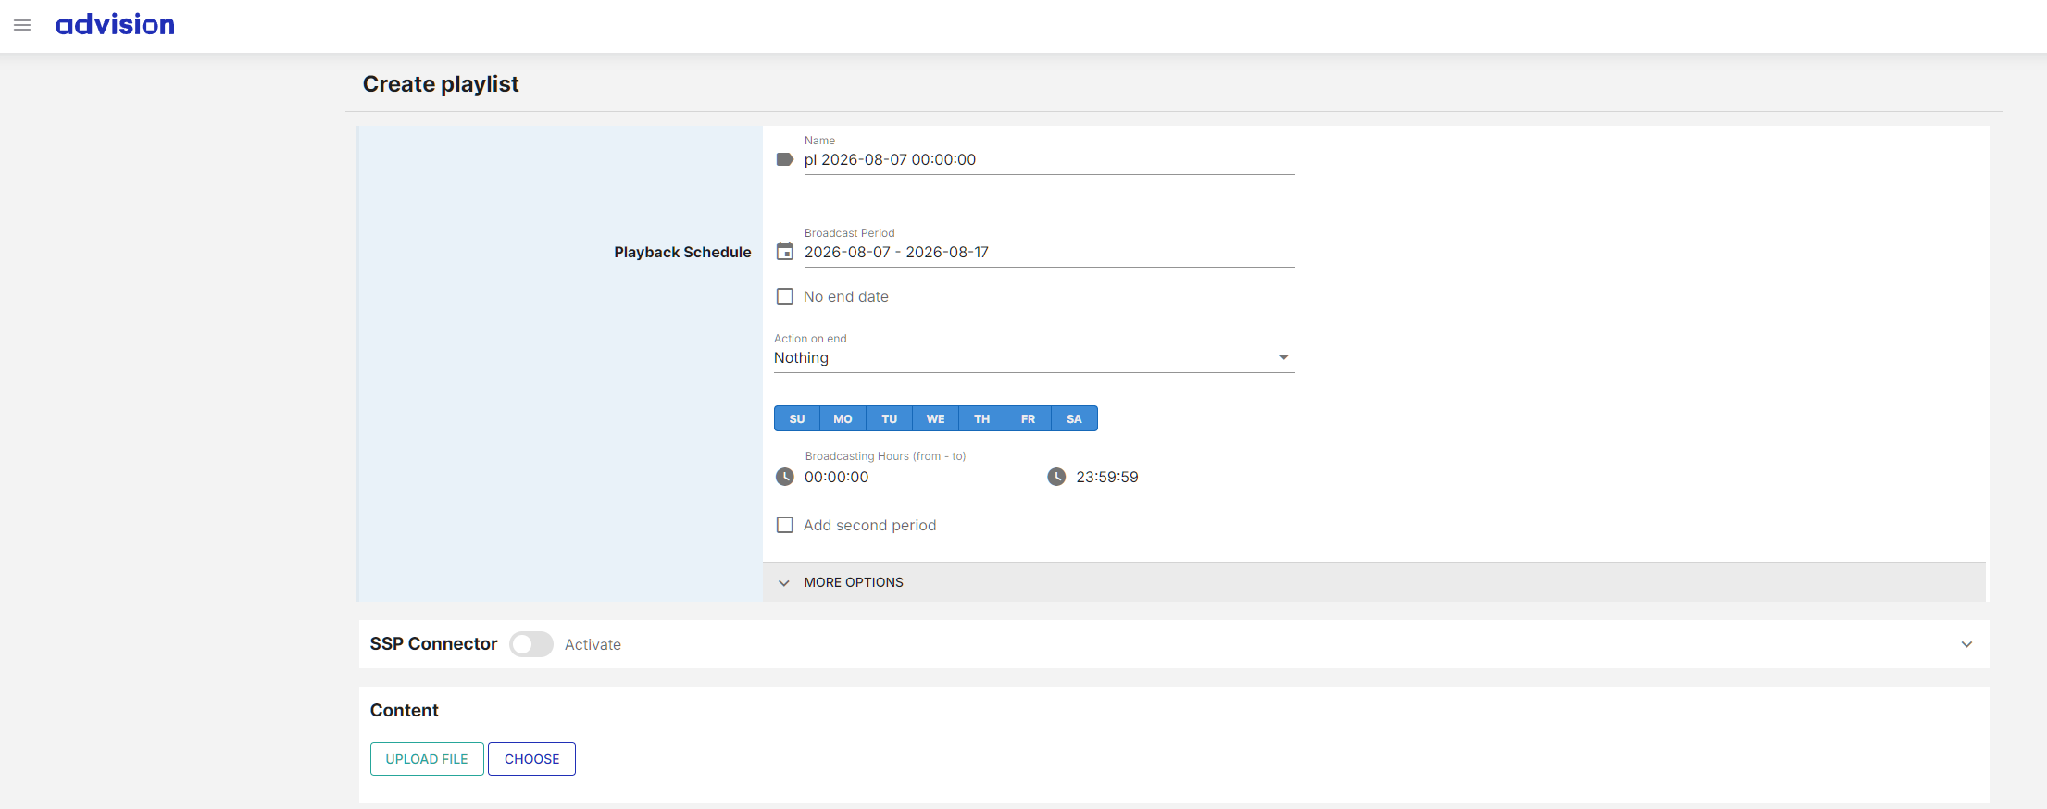
The Create playlist form.
Basic settings
The Name field at the top of the form sets the display name for the playlist. By default, the platform generates a name based on the creation date and time (for example, "pl 2026-08-07 00:00:00"). This name can be changed to any custom value.
The Playback Schedule section defines when the playlist is active.
The Broadcast Period field sets the date range during which the playlist is active. It contains a start date and an end date. The playlist will only be included in the schedule on days that fall within this period.
Below the Broadcast Period, a No end date checkbox is available. When this checkbox is checked, the end date field is removed and the Broadcast Period is replaced by a Start date field only. The playlist will then run without a set end date, starting from the specified start date and continuing until it is manually stopped or edited.
When the No end date checkbox is not checked and a specific end date is set, an Action on end dropdown appears below the Broadcast Period. This dropdown defines what the platform does when the broadcast period ends. Three options are available: Nothing, Detach, and Delete. The default value is "Nothing."
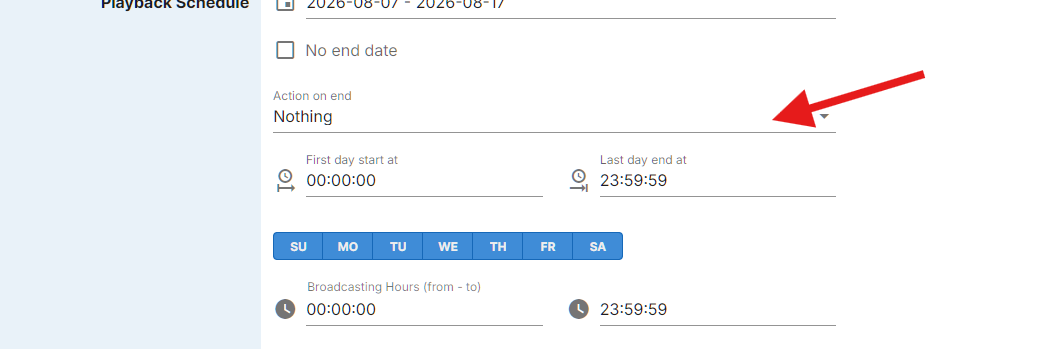
The Action on end dropdown.
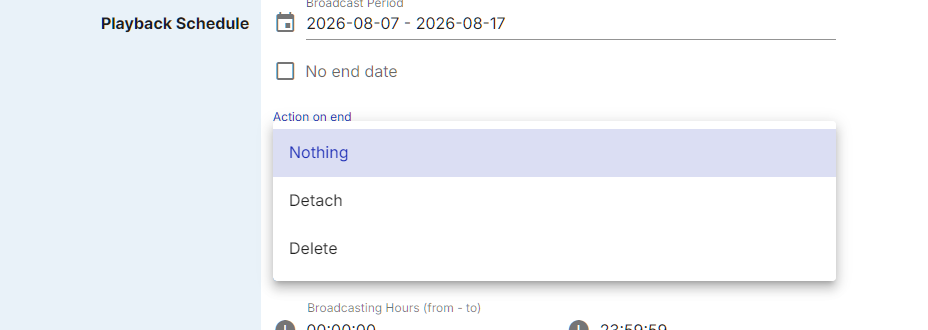
The Action on end options.
The days of week buttons (SU, MO, TU, WE, TH, FR, SA) define on which days within the broadcast period the playlist is active. Selected days are highlighted in blue. By default, all seven days are selected. Click any day button to toggle it on or off. On days that are not selected, the playlist will not play even if they fall within the broadcast period.
The Broadcasting Hours (from - to) fields set the daily time window during which the playlist plays. The "from" field defines the start time and the "to" field defines the end time, both in HH:MM:SS format. For example, setting 08:00:00 to 23:00:00 means the playlist will only be scheduled between 8 AM and 11 PM each active day.
The Add second period checkbox, when checked, adds a second pair of Broadcasting Hours fields. This is useful when the playlist needs to play during two separate time windows within the same day, for example from 08:00:00 to 12:00:00 and then again from 18:00:00 to 23:00:00.
More options
Click MORE OPTIONS below the schedule fields to expand the additional settings.
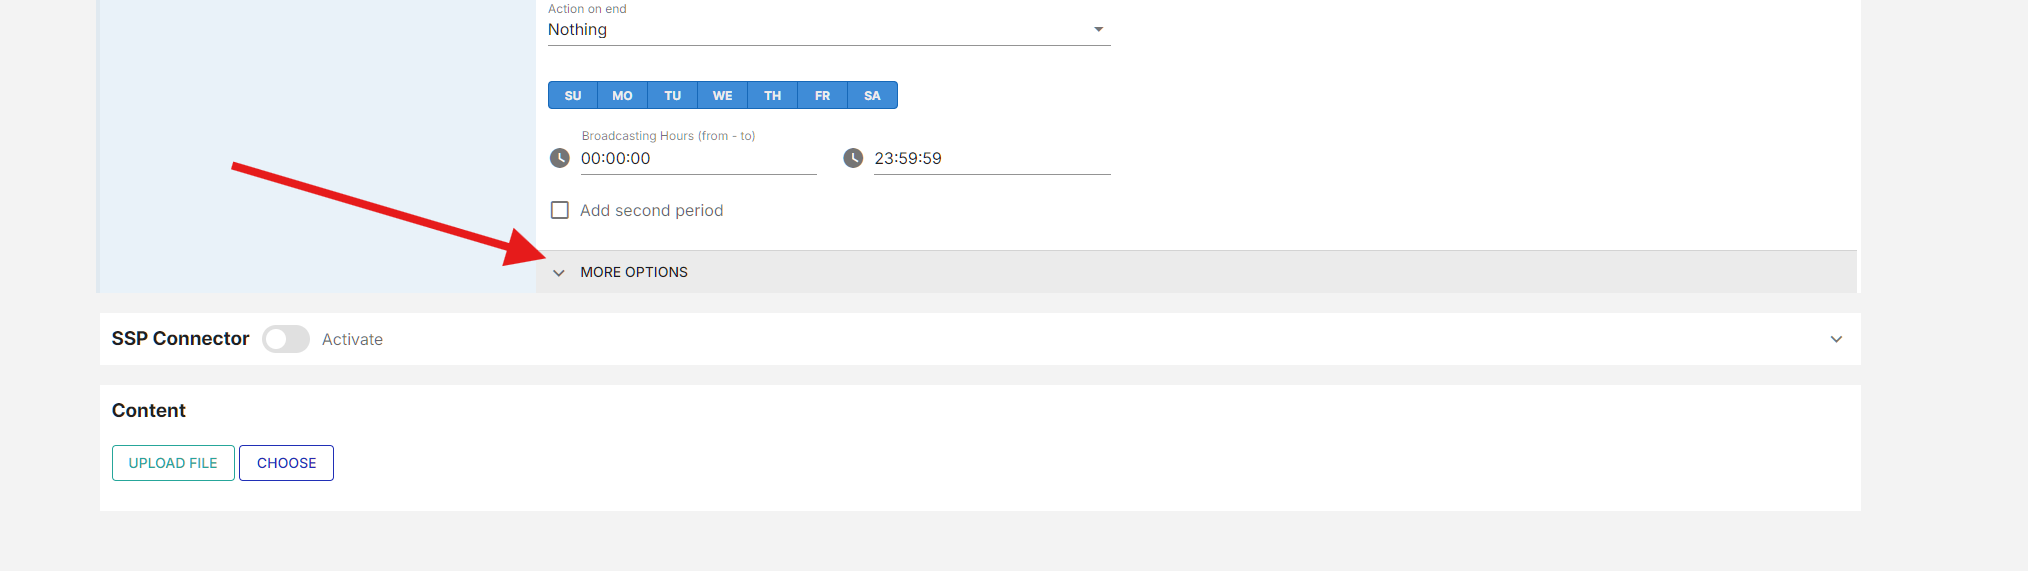
The MORE OPTIONS bar.
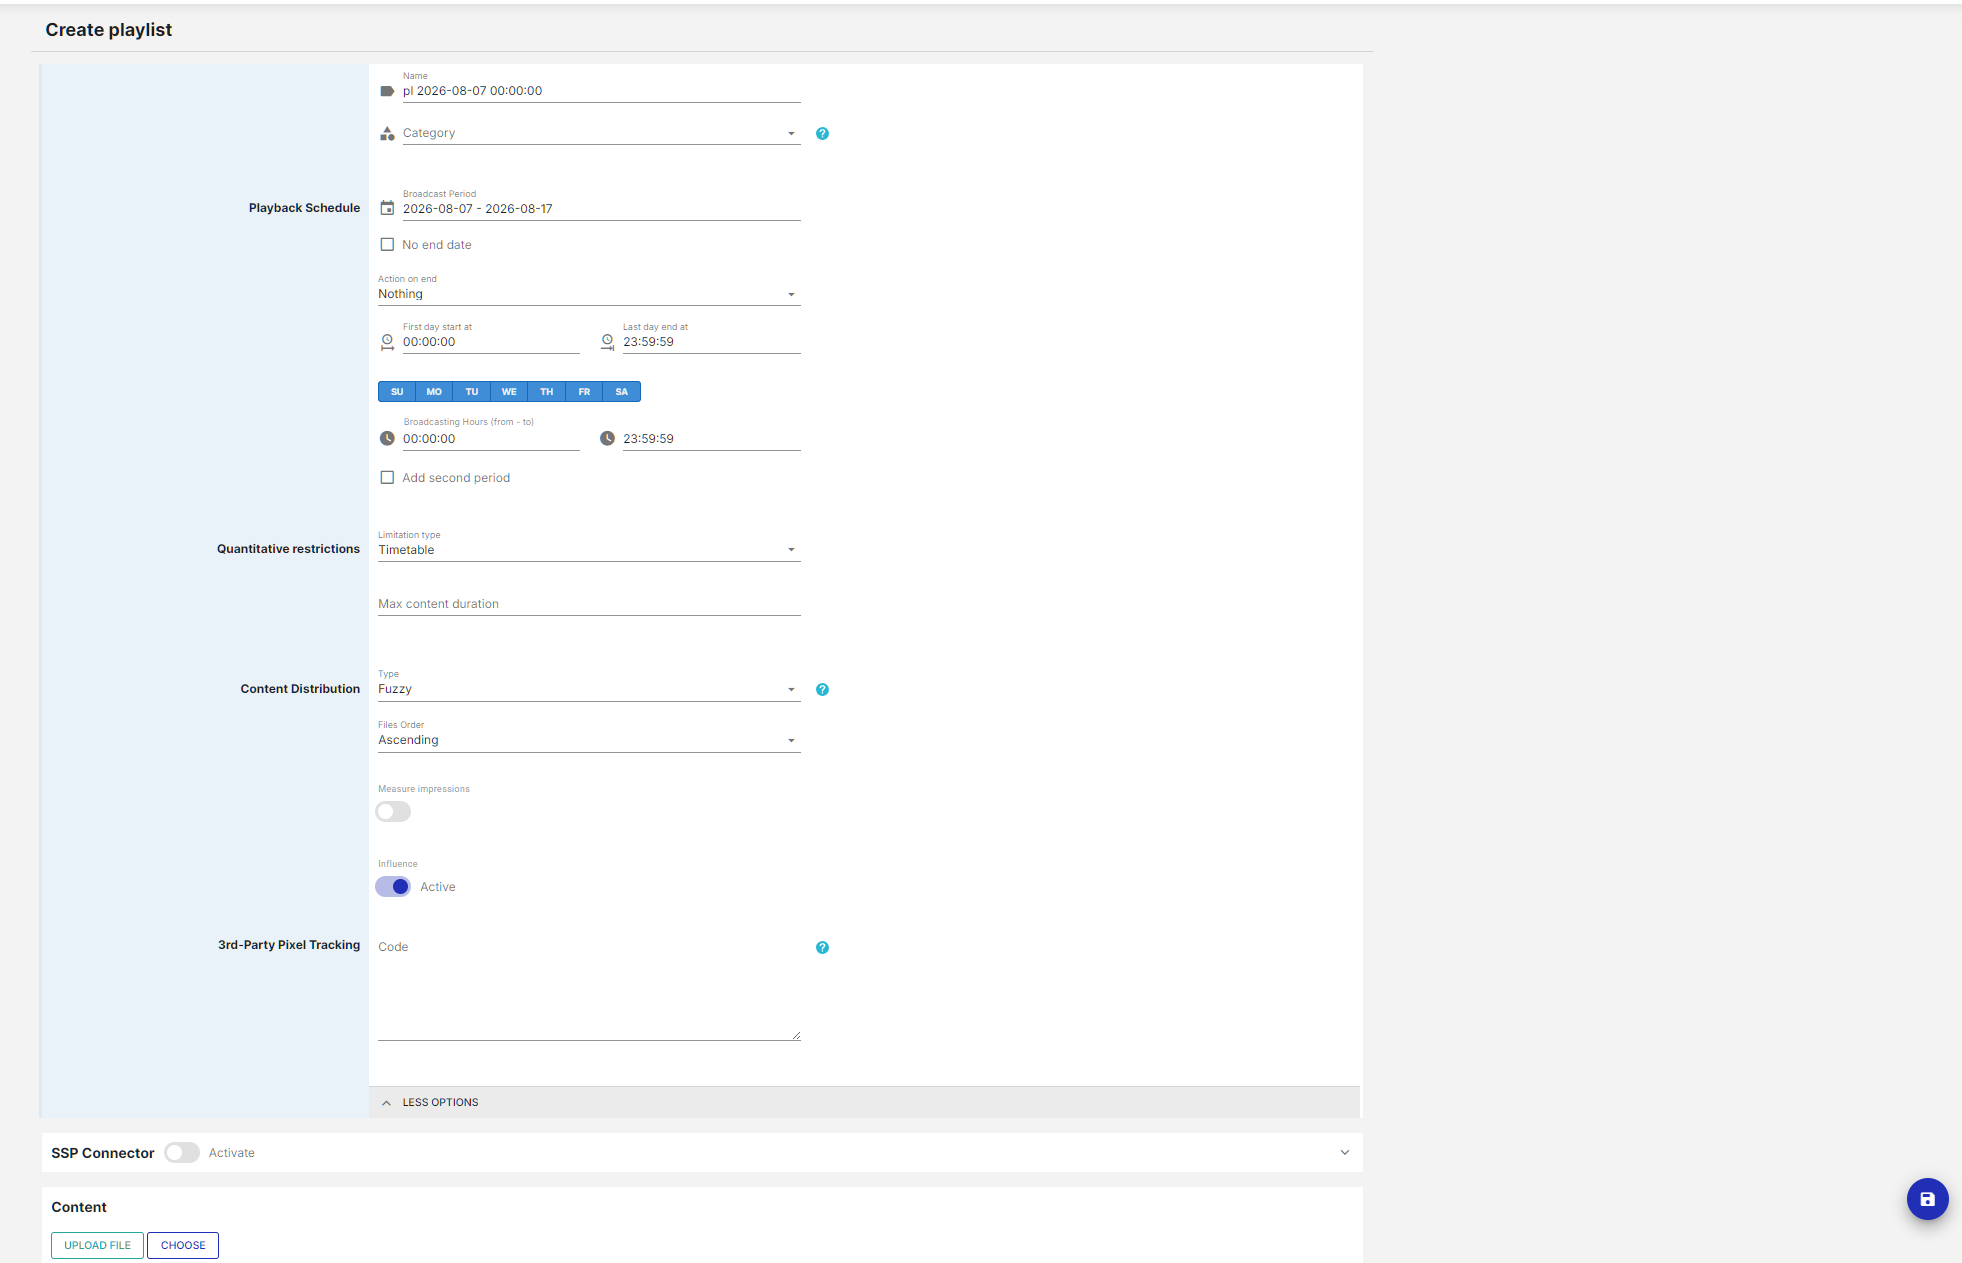
The expanded form with all additional settings.
The Category dropdown below the Name field assigns a category label to the playlist. When multiple playlists from different categories are scheduled on the same screen, the system alternates between categories instead of placing playlists of one category one after another. For example, two "transport" and two "communication" playlists will play in the order transport, communication, transport, communication.
The First day start at and Last day end at fields below Action on end set the time boundaries for the first and the last day of the broadcast period.
Quantitative restrictions
The Quantitative restrictions setting defines the strategy for how the platform determines when to stop scheduling this playlist. It contains a Limitation type dropdown with two options: Timetable and Playbacks.
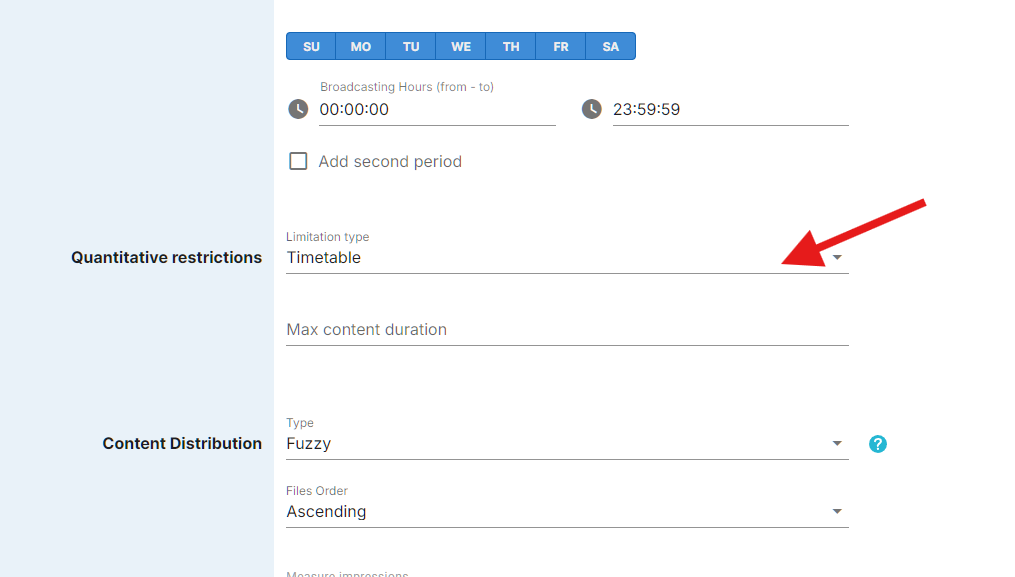
The Limitation type dropdown.
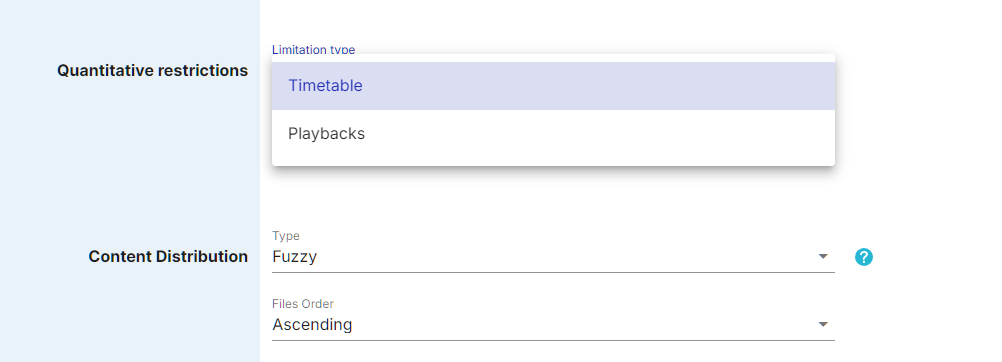
The Limitation type options.
When Timetable is selected, the platform schedules the playlist based on the broadcast period and broadcasting hours configured in the Playback Schedule section above. The playlist runs according to these time settings and stops when the broadcast period ends. A Max content duration field below allows setting an upper limit on how long this playlist’s content can occupy in the schedule.
When Playbacks is selected, the platform tracks the number of times the playlist’s content has been played. The operator enters a target number of impressions (for example, 10000), and when the total playback count across all assigned devices reaches that number, the playlist is automatically removed from scheduling. The remaining count of impressions is shown in the interface so the operator can track progress.
Content Distribution
The Content Distribution settings define the playlist type and playback behavior.
The Type dropdown determines the playlist’s playback logic. To select a type, click the Type dropdown in the Content Distribution section. Five types are available in the dropdown list: Loop item, Floating, Periodic, Fuzzy, and Block.
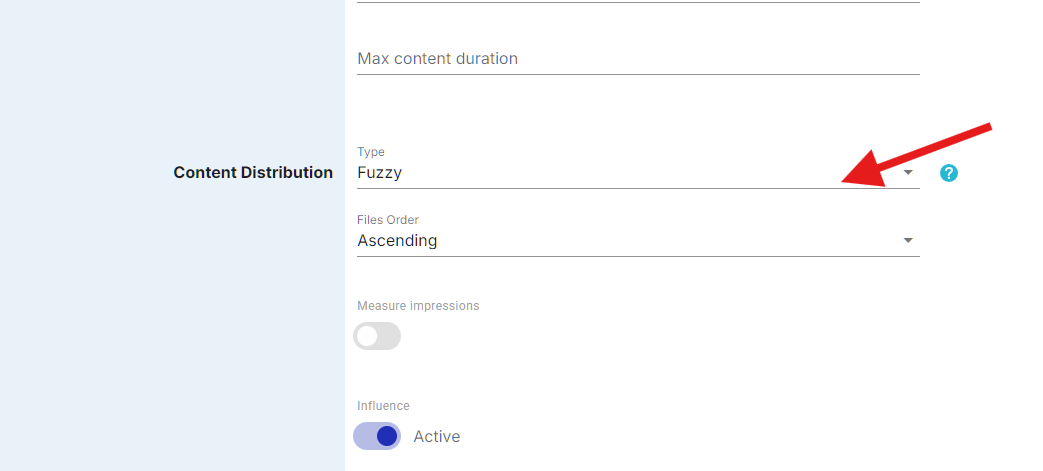
The Type dropdown.
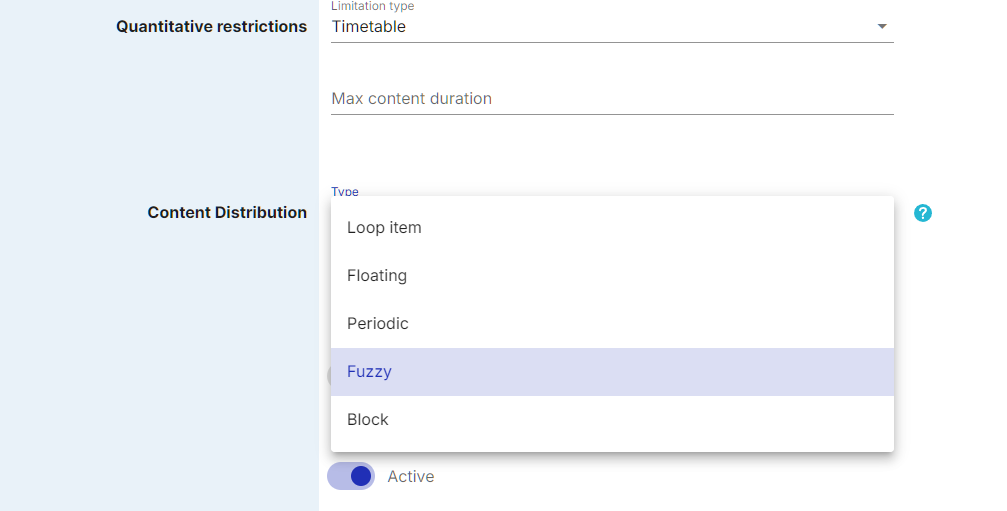
The playlist types.
Fuzzy is the default and simplest type - a Fuzzy playlist loops its content continuously during the configured broadcasting hours and serves as background content. Periodic playlists play their content at fixed time intervals during the broadcasting window. Floating playlists distribute their plays evenly across the entire broadcasting window without fixed time slots. Block playlists divide the broadcasting window into fixed-length blocks, and each block is subdivided into sections. Loop item playlists use frequency-based rotation within a continuous loop. For the full behavior of each type and how they interact, see the article "Playlist Types and Priorities".
The Files Order dropdown defines the sequence in which files within the playlist are played. Four options are available: Ascending, Descending, Random, and One of.
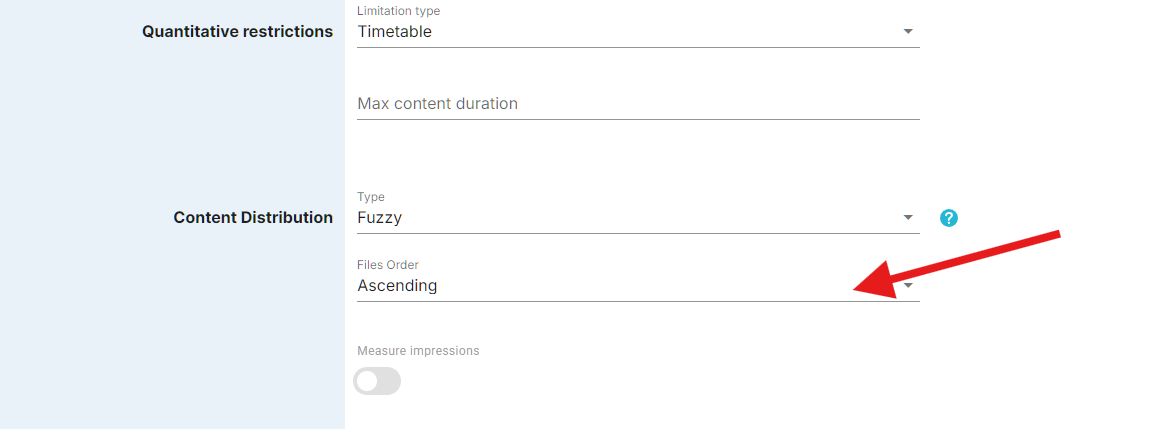
The Files Order dropdown.
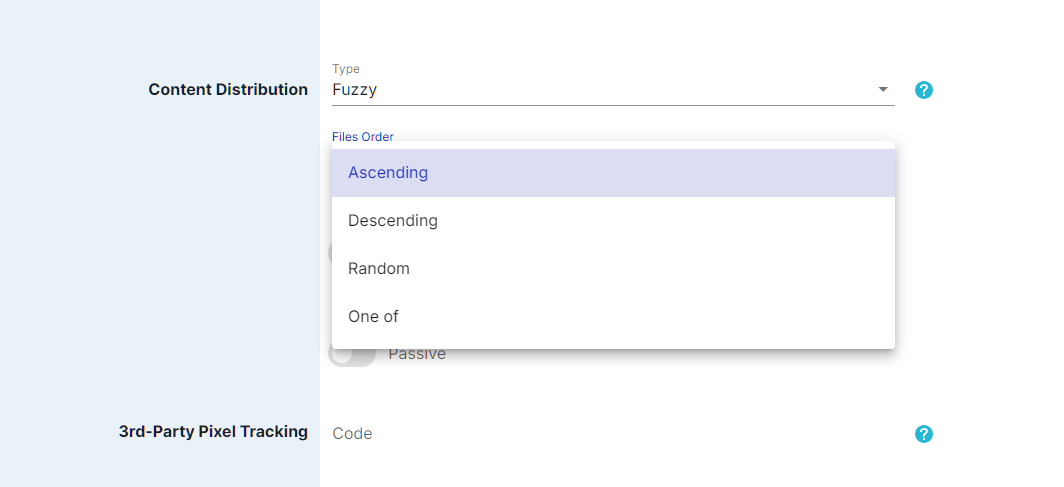
The Files Order options.
Ascending plays files in the same order as they appear in the playlist, from first to last. Descending plays them in reverse order, from last to first. Random shuffles the order each time the playlist loops. One of plays only a single file from the playlist per output cycle - on the first cycle the first file is shown, on the second cycle the second file, and so on. When all files have been shown once, the rotation starts again from the first file. The One of option is commonly used in outdoor advertising when an advertiser has multiple creatives (for example, different product promotions) but has purchased only one time slot in the schedule. In this case, all creatives rotate through that single slot one at a time.
The Measure impressions toggle enables impression measurement for this playlist.
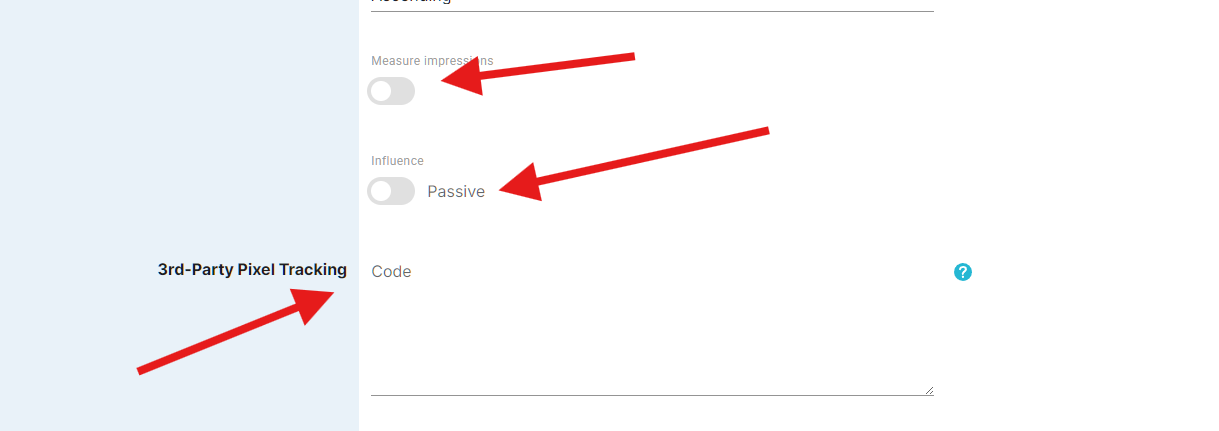
The Measure impressions and Influence toggles and the pixel tracking code field.
The Influence toggle switches between Active and Passive modes. When set to Active, any changes saved to this playlist are immediately published to all devices that have this playlist assigned. The platform begins synchronizing the updated content and schedule with the devices right away.
When set to Passive, saved changes are stored but not applied until the beginning of the next day (00:01). The updated content and schedule enter the rotation when the platform transitions to the next day’s schedule. Passive mode is useful when preparing changes in advance without affecting the current day’s broadcast.
3rd-Party Pixel Tracking
The 3rd-Party Pixel Tracking section provides a Code text field where a tracking pixel code can be entered. When a tracking pixel is configured, the platform fires (calls) this pixel every time a file from the playlist is played on a device. This makes it possible for external tracking systems to independently verify that the content was actually shown, collecting playback statistics separately from the platform’s own reporting.
Click LESS OPTIONS at the bottom of the expanded area to collapse the additional settings.
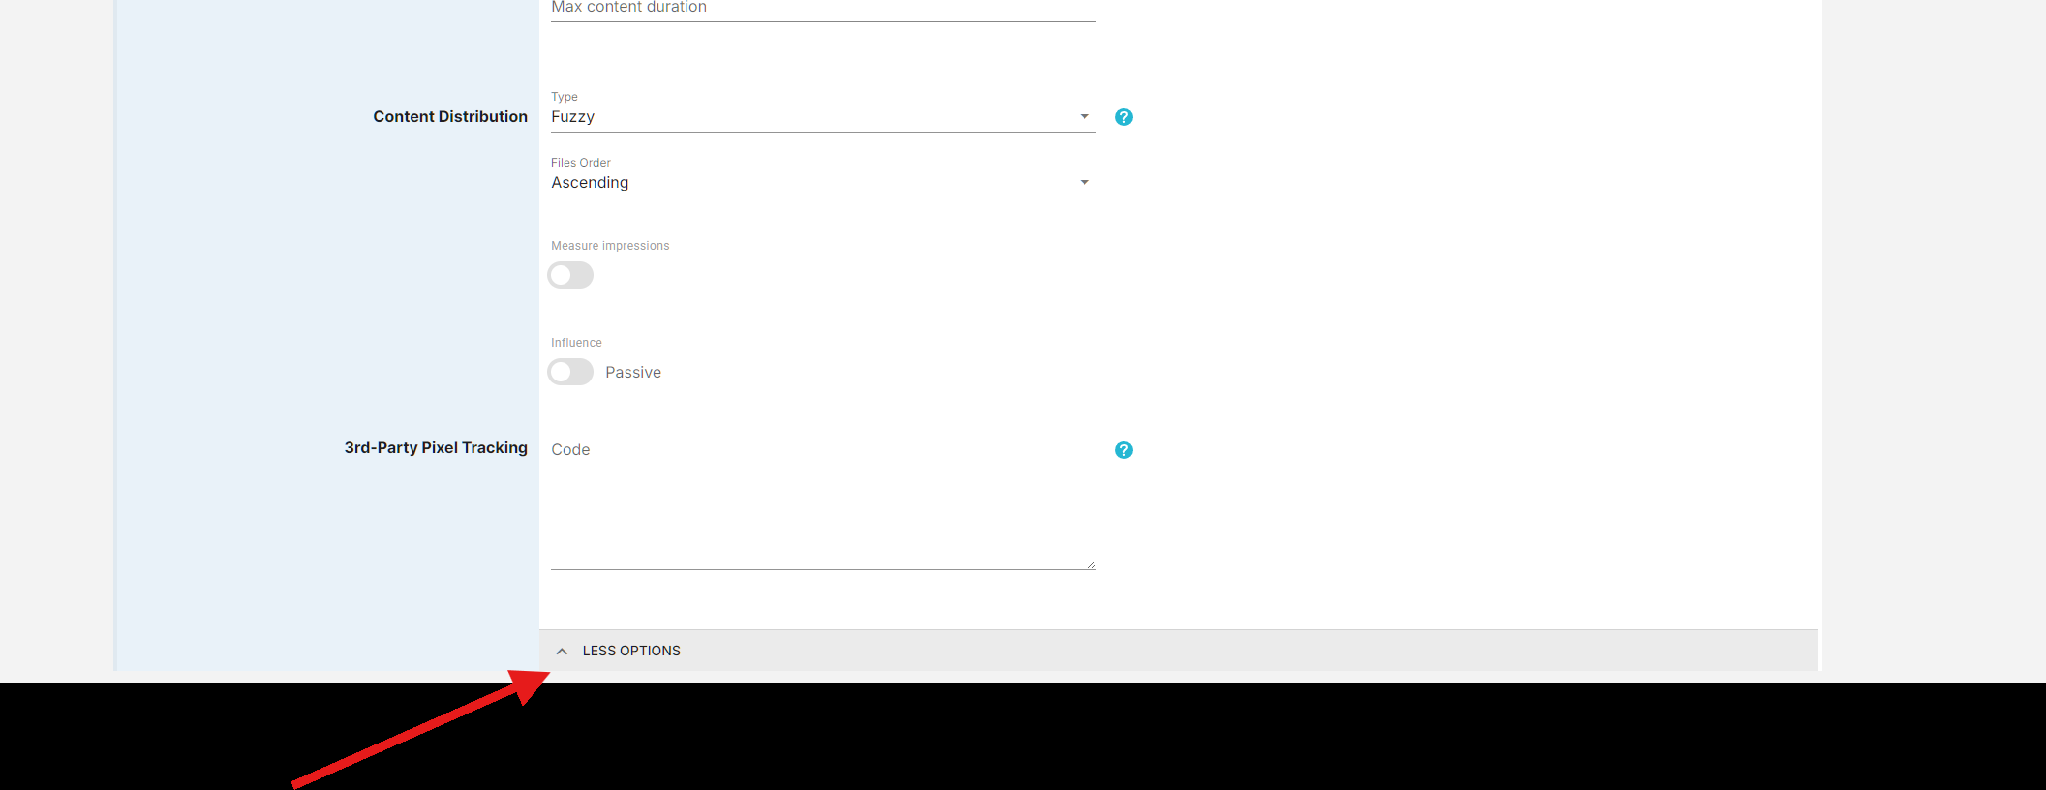
The LESS OPTIONS bar.
SSP Connector
Below the Playback Schedule section, the SSP Connector area is displayed with an Activate toggle.
When the Activate toggle is switched on, the SSP Connector section expands to show additional configuration fields. After activation, the playlist requests content from the chosen advertising source. For proper functioning, the playback device must have its name, address, location, photo, audience data, and playback cost configured. Use the SSP page to check playback reports and income.
The Advertising providers area shows three options: Advision (labeled "DEFAULT"), Adtelligent (labeled "ADTELLIGENT.COM"), and Manual. Select the provider that will supply the advertising content. Below the provider selection, an SSP ID field is displayed where the source ID must be entered. This ID links the playlist to a specific source on the SSP side. Next to it, a Duration field is displayed. When the SSP Connector is active, the playlist logic changes: if the SSP has advertising content available for the given source ID, that content is played instead of the playlist’s own media files. If there is no SSP output at a given moment, the playlist falls back to its own content and plays the media files that are loaded into it. In this way, the playlist’s own media serves as filler content that fills the gaps when no SSP advertising is available.
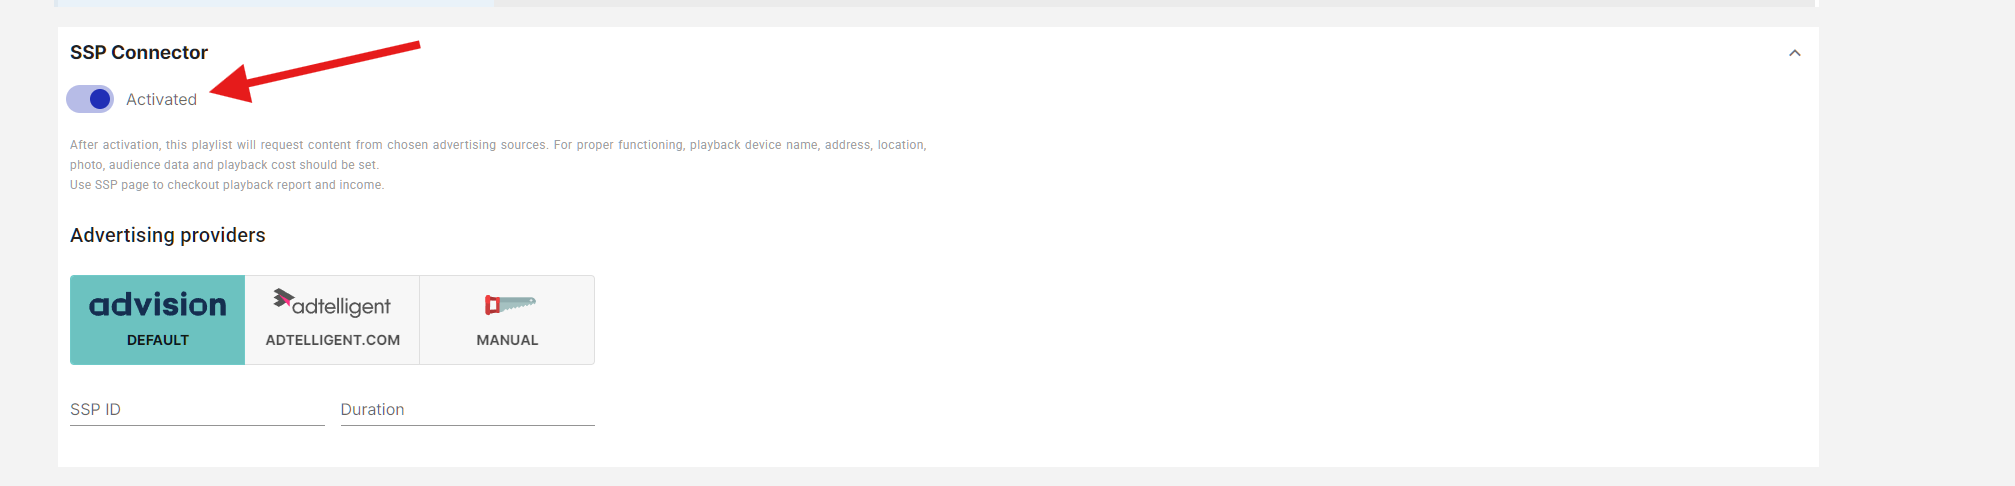
The activated SSP Connector with advertising providers.
Content
Below the SSP Connector section, the Content area provides tools for adding media files to the playlist.
The UPLOAD FILE button opens the file browser on the local computer. Select one or more files to upload them directly to the playlist. The uploaded files are added both to the platform’s media gallery and to this playlist.
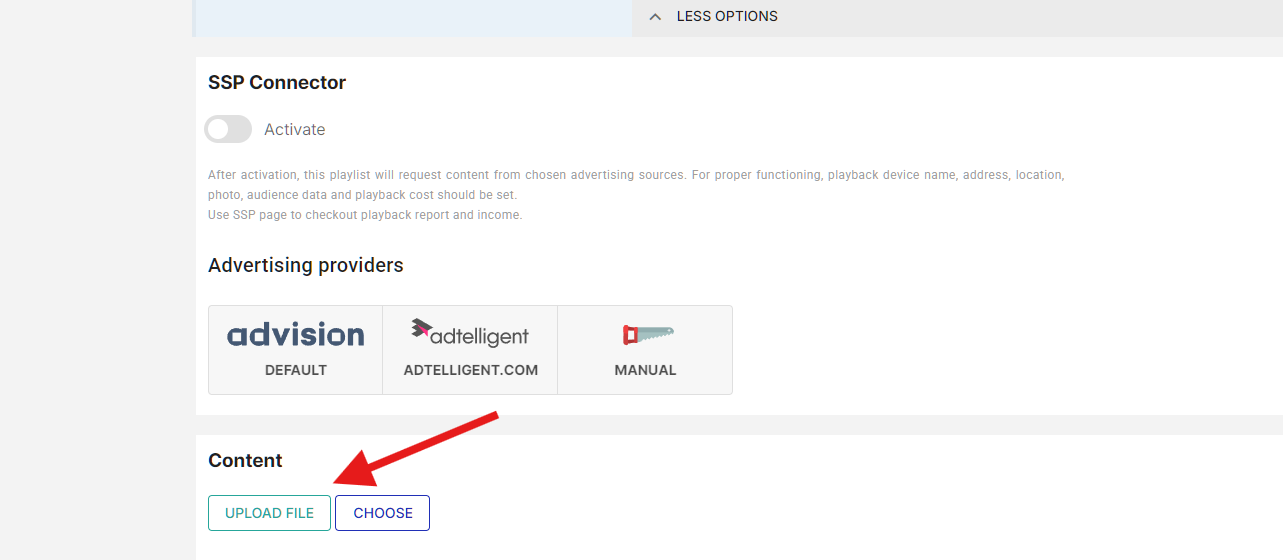
The Content area with the UPLOAD FILE and CHOOSE buttons.
The CHOOSE button opens a dropdown menu with two options: Gallery and Remote.
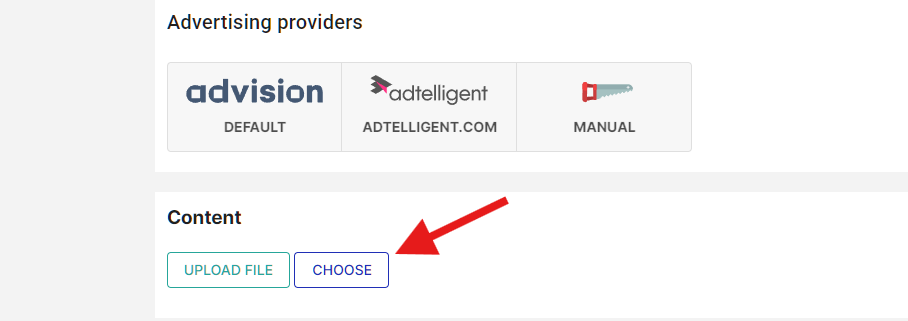
The CHOOSE button.
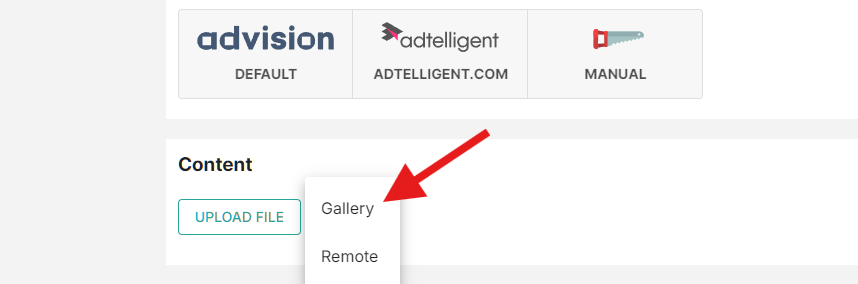
The Gallery option in the CHOOSE menu.
Selecting Gallery opens the platform’s media gallery in a simplified view - the Files Gallery window, where files can be browsed and selected from the existing media library. Files can be searched, filtered by tabs (Home, Stock, Creations, Recent, Favorite), and selected for adding to the playlist. Click ADD to add the selected files, or CLOSE to cancel.
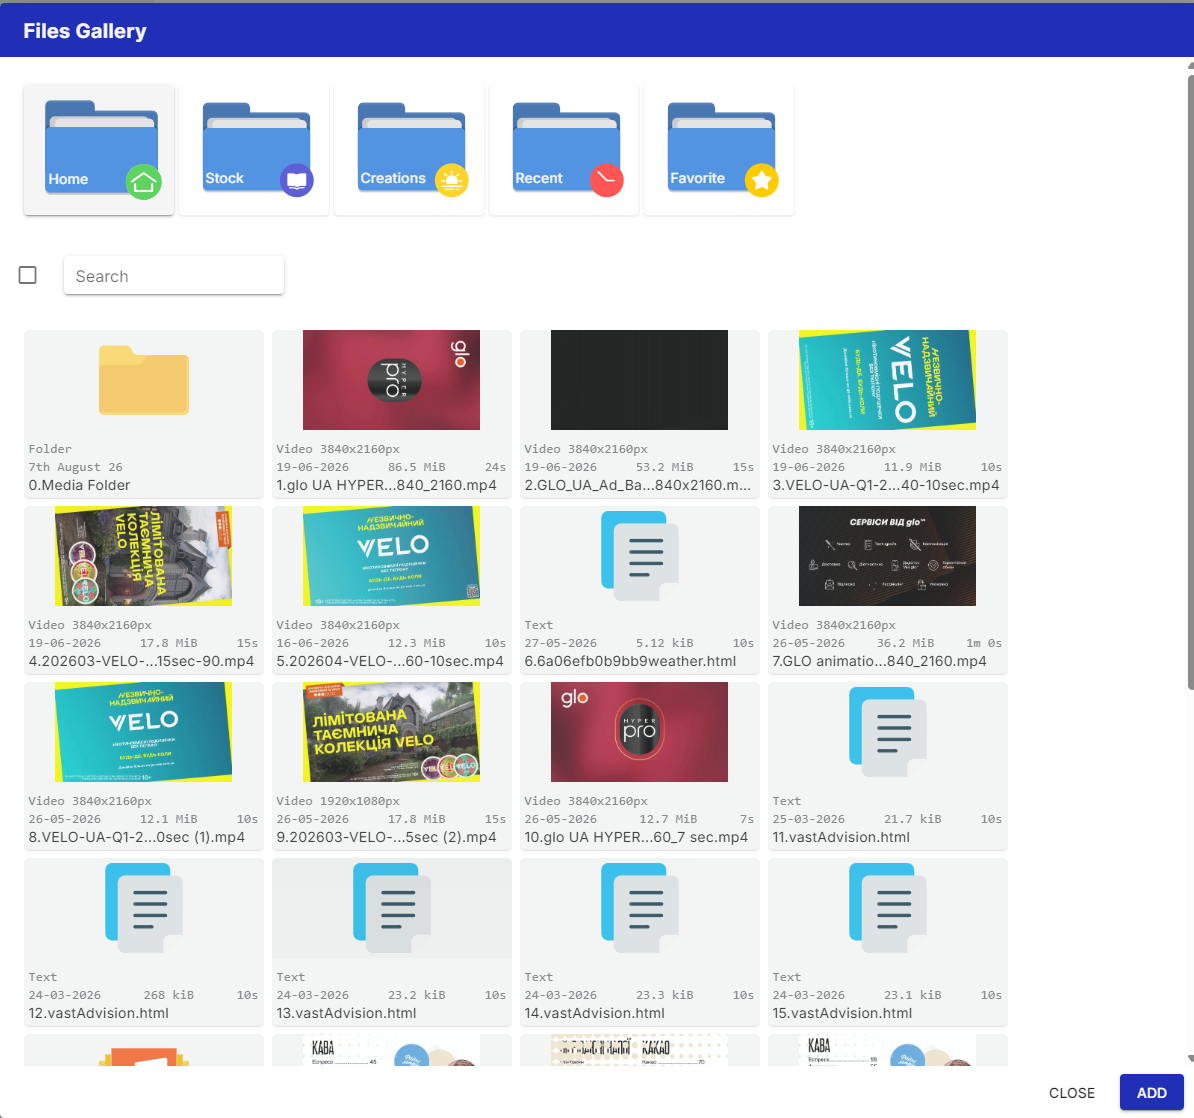
The Files Gallery window.
Selecting Remote opens an "Add remote files" dialog. In this dialog, a URL field allows entering the web address of a remote media file (for example, a video stream URL or a link to an externally hosted media file), and a Duration field allows setting the playback duration in seconds for this remote content. After entering the URL and duration, click ADD to include the remote file in the playlist, or click CLOSE to cancel.
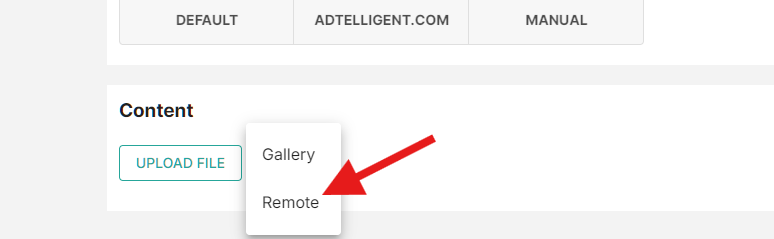
The Remote option in the CHOOSE menu.
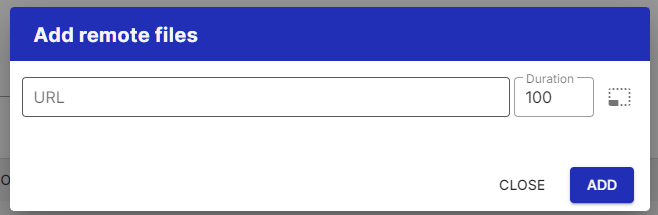
The Add remote files dialog.
After files are added to the playlist (through any of the three methods above), they appear in the content list below the buttons. Each file shows a thumbnail preview, file metadata (format, resolution, size, duration), and the file name. Files within the playlist can be reordered, configured individually with per-file settings (such as Set Inactive, Set Duration, Override Schedule, and Set Config), or removed from the playlist.
Saving the playlist
If the form contains a Media Devices block below the Content area, click + and select the device to assign the playlist to.
A playlist can also be assigned to devices from the device list (Equipment → Media devices): select the devices with the checkboxes and click the Plan button - the device assignment in the playlist form is pre-filled with the selected devices.
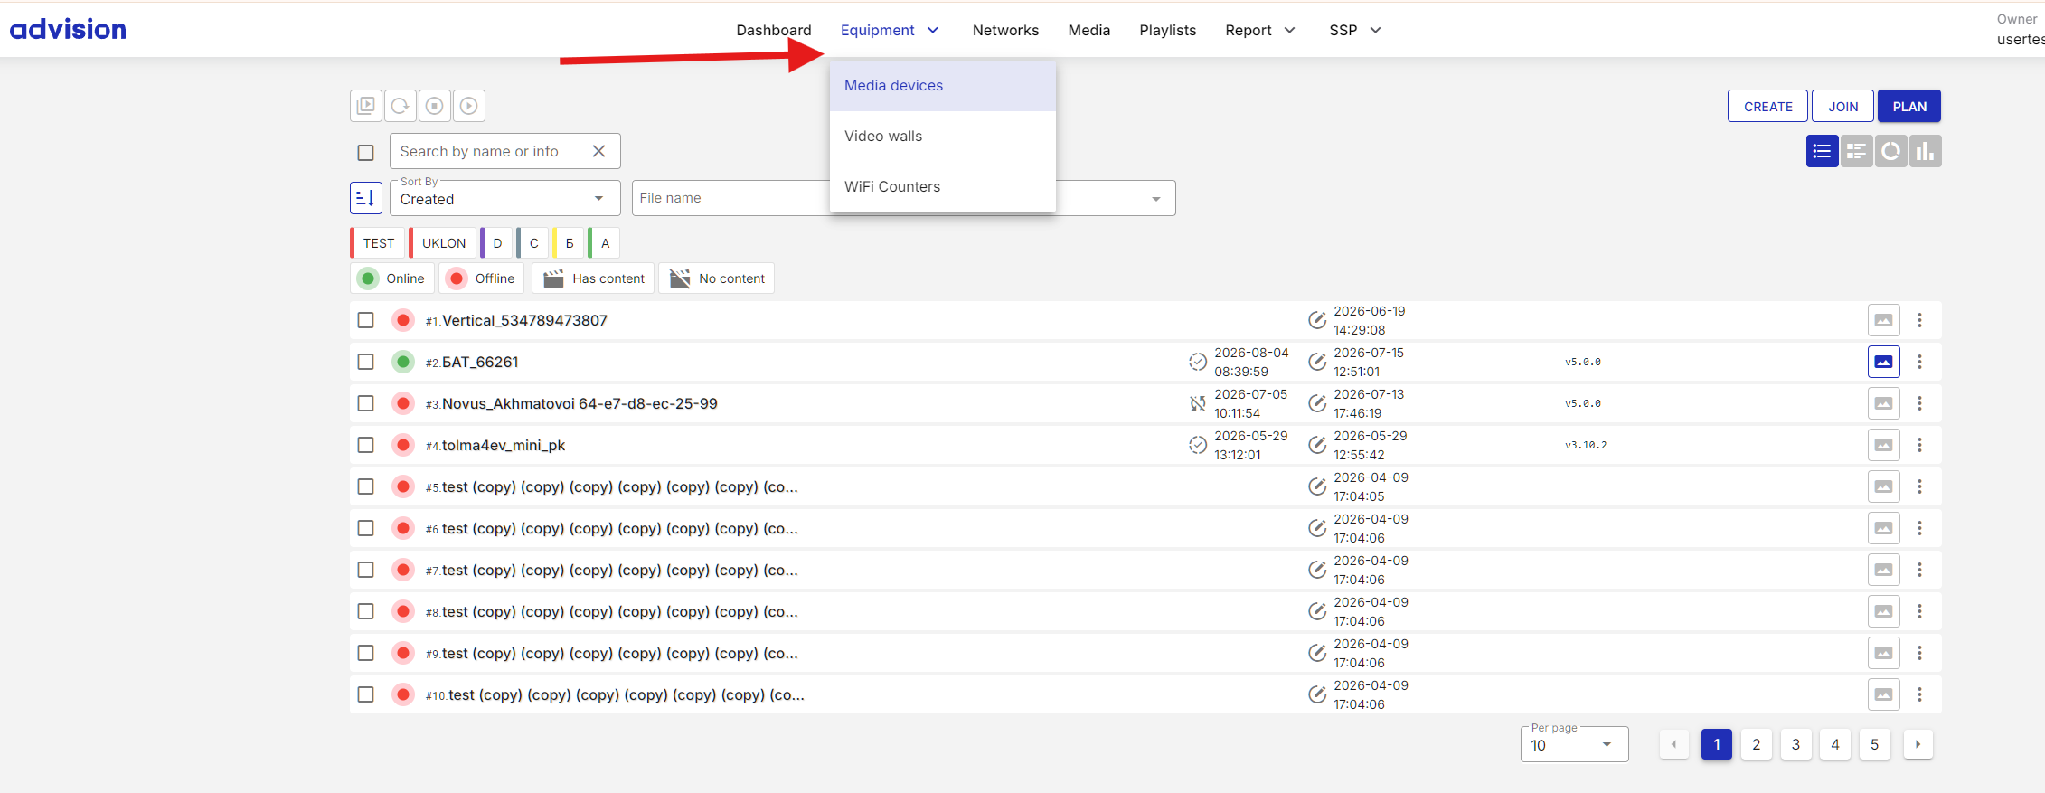
The device list with the Create, Join, and Plan buttons.
Click the Save button - the round button in the bottom-right corner of the form. The content is pushed to the device and synchronization begins.
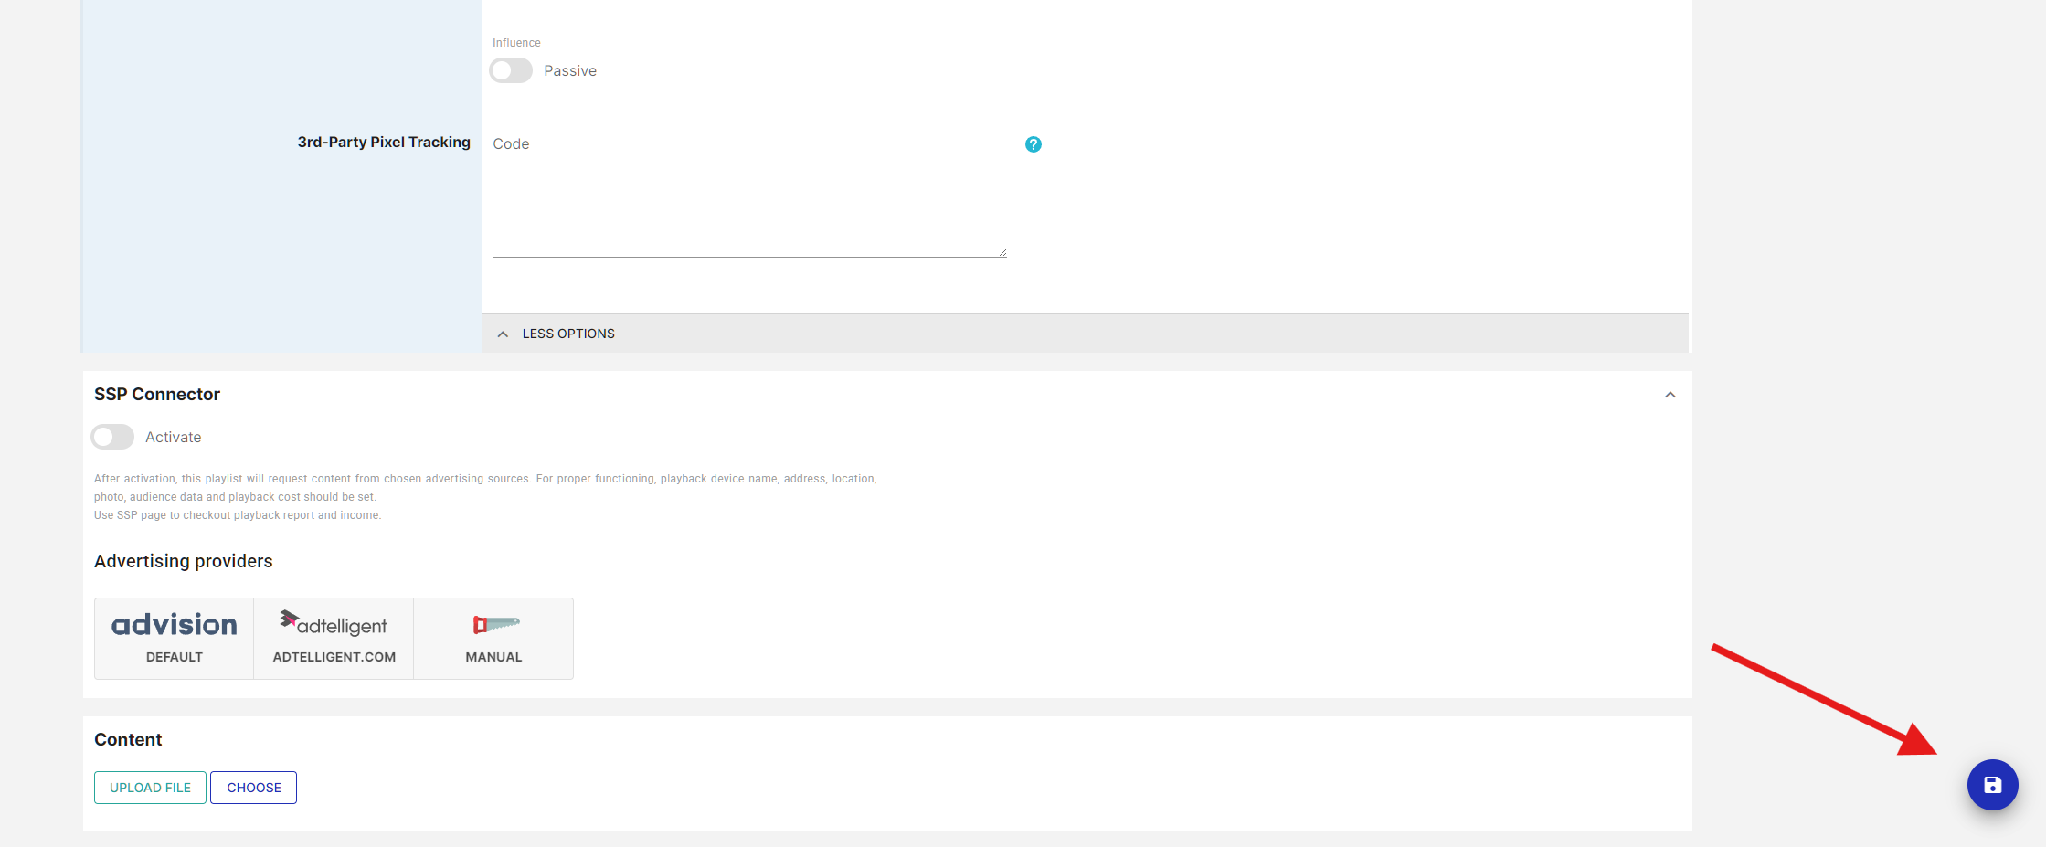
The Save button.
After saving, the playlist appears in the Playlists list with its type, status, device count, broadcast period, and broadcasting hours.
What's next
To fine-tune when the playlist plays, see the article "Configuring the Broadcasting Schedule". To learn how different playlist types behave and how they interact, see "Playlist Types and Priorities".