Uploading Files to the Media Library
Uploading Files to the Media Library
This article shows how to upload content to the cloud media library and lists the supported formats.
Supported content formats
The platform supports several types of media content. The table below lists the supported file formats and their size limits.
| Format | Supported types | Max file size |
| Images | .jpg, .png, .gif | 5 MB |
| Video | .mp4, .webm, .mov, .mkv | 500 MB |
| Audio | .mp3 | 150 MB |
| HTML content | .html files, .zip archives containing HTML content | 150 MB |
Images and video files are the most common content types. For images, the display duration is set either at the playlist level or individually per file. For video, the player plays the file for its full duration by default, but the operator can set a shorter duration - in that case, only the portion from the beginning of the video up to the specified time is played.
Audio files are used for digital audio advertising and background audio systems where the Advision media player is connected to an audio amplifier instead of a screen (see the audio connection guide).
ZIP archives contain an HTML application with supporting files. ZIP packages are uploaded to the media library like regular files and are rendered by the player as interactive or dynamic content. Additional configuration parameters can be passed to ZIP packages through the Set Config option in the file-level settings within a playlist.
The platform also supports web content - including websites and audio/video streams - that can be added to playlists and displayed on devices.
The Media section
The Media section is the central content library where all uploaded files are stored. The media gallery is cloud-based and located on the Advision platform server. Each account has a dedicated storage space allocated for media files. To open the Media section, click Media in the top navigation bar.
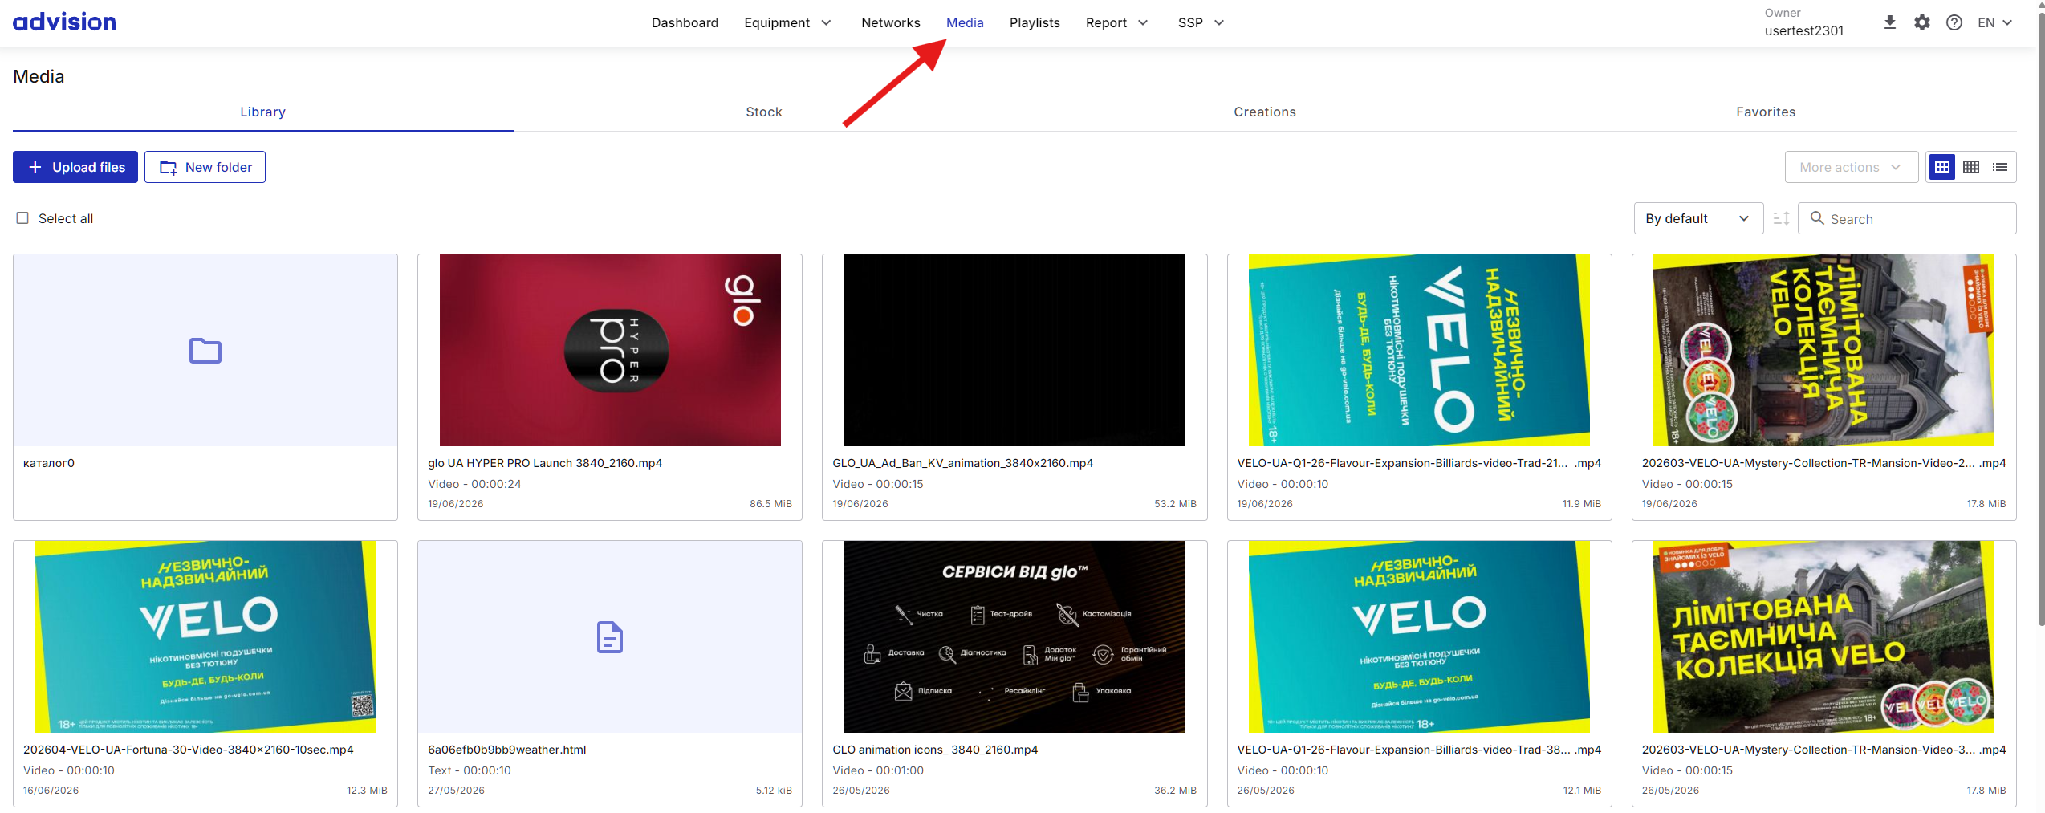
The Media section.
If the Pinned left menu option is enabled in the gear menu, the same sections can also be opened from the left menu: click the three-line icon in the top-left corner and select Media.
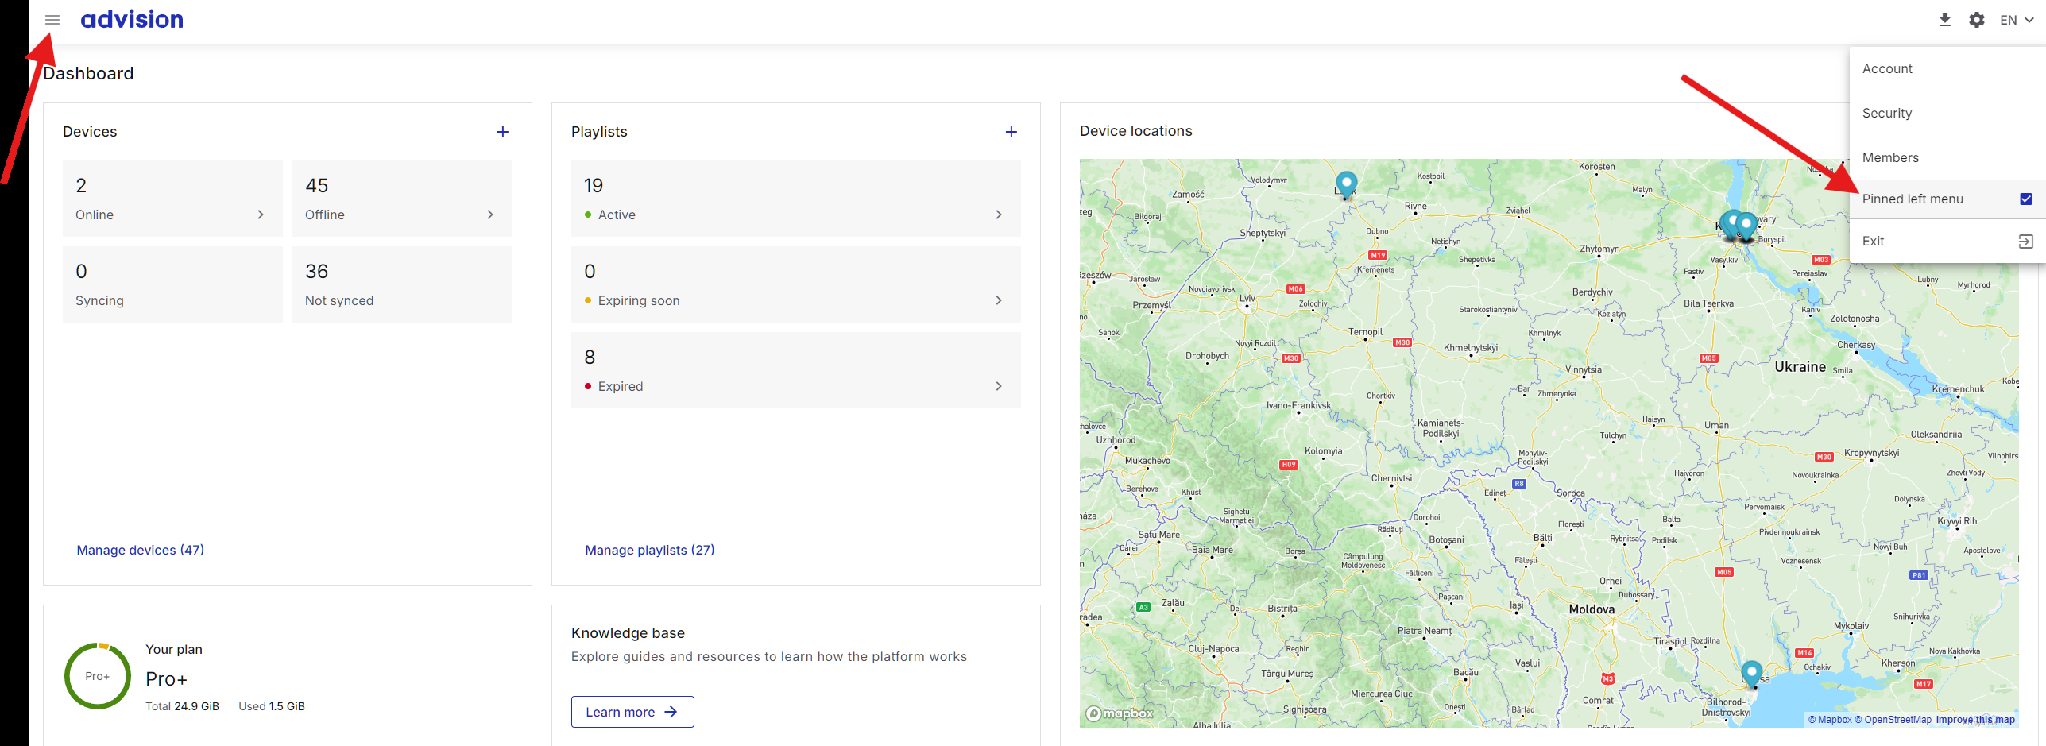
The Pinned left menu option in the gear menu.
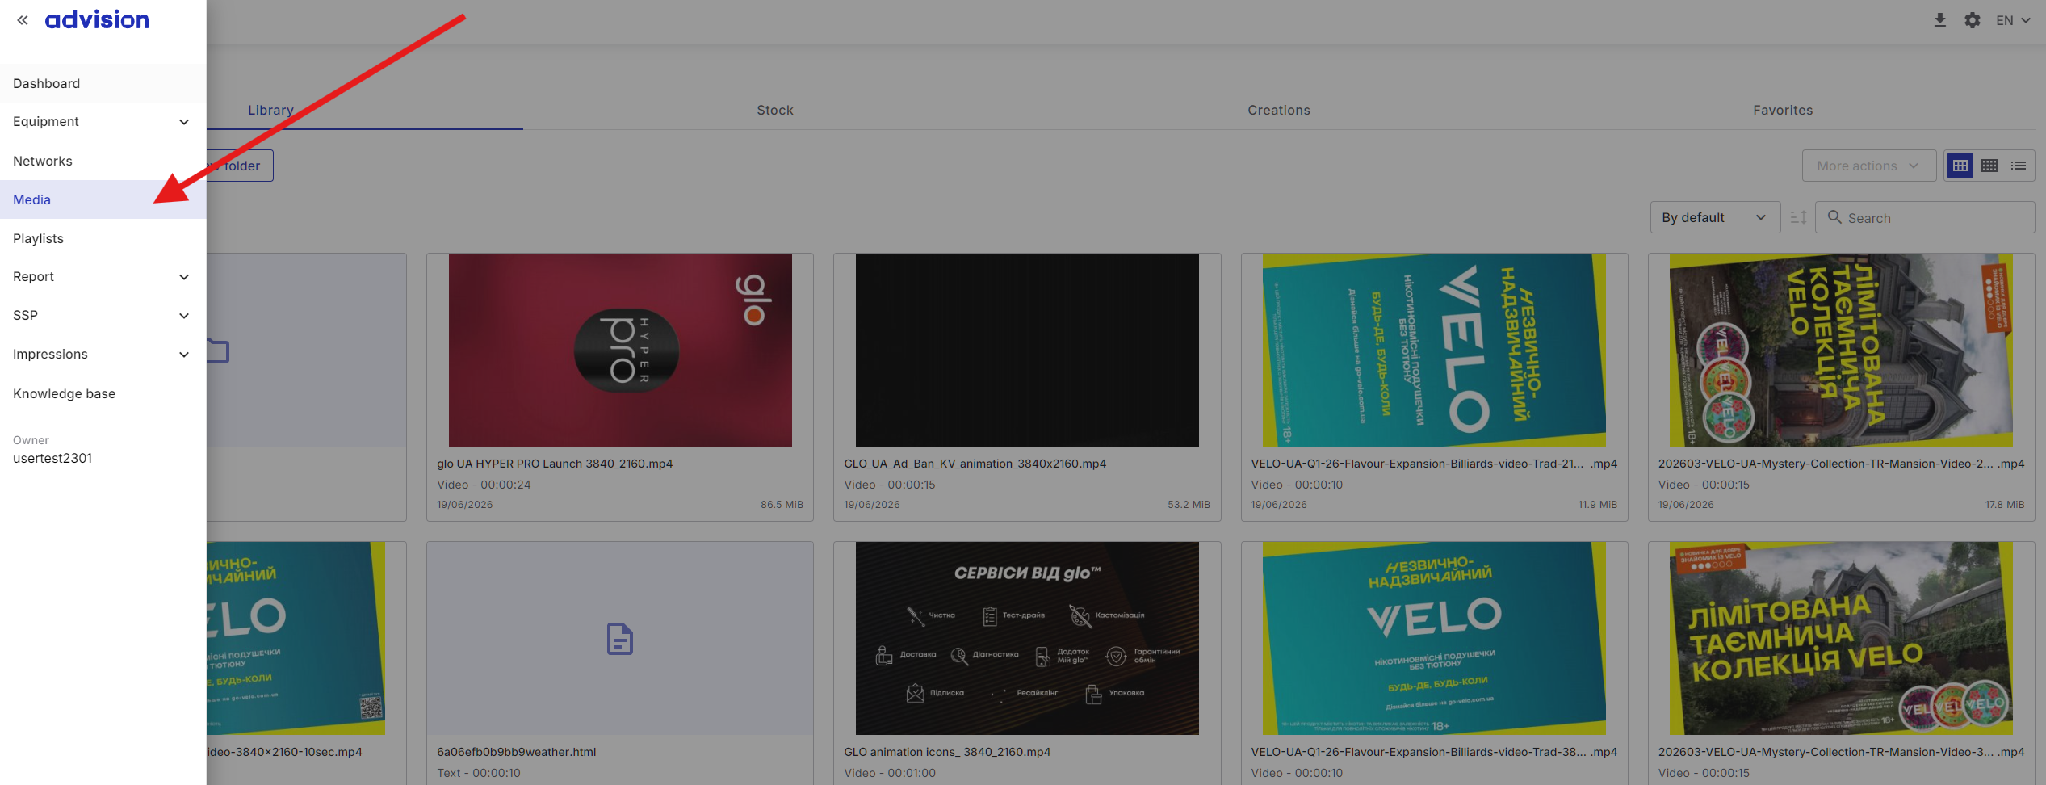
The Media item in the left menu.
The page has four tabs at the top: Library, Stock, Creations, and Favorites. Under the tabs, the Upload files and New folder buttons are displayed on the left, and the More actions menu with three view toggle buttons on the right. Below them are the Select all checkbox, a sort dropdown with a sort direction toggle, and the Search field. The main content area shows all files and folders in a thumbnail grid, where each file displays a preview, file type, default playback duration, upload date, file size, and the file name.
To find a file by name, start typing the name in the Search field.
Uploading files
Step 1. Click the Upload files button above the file grid.
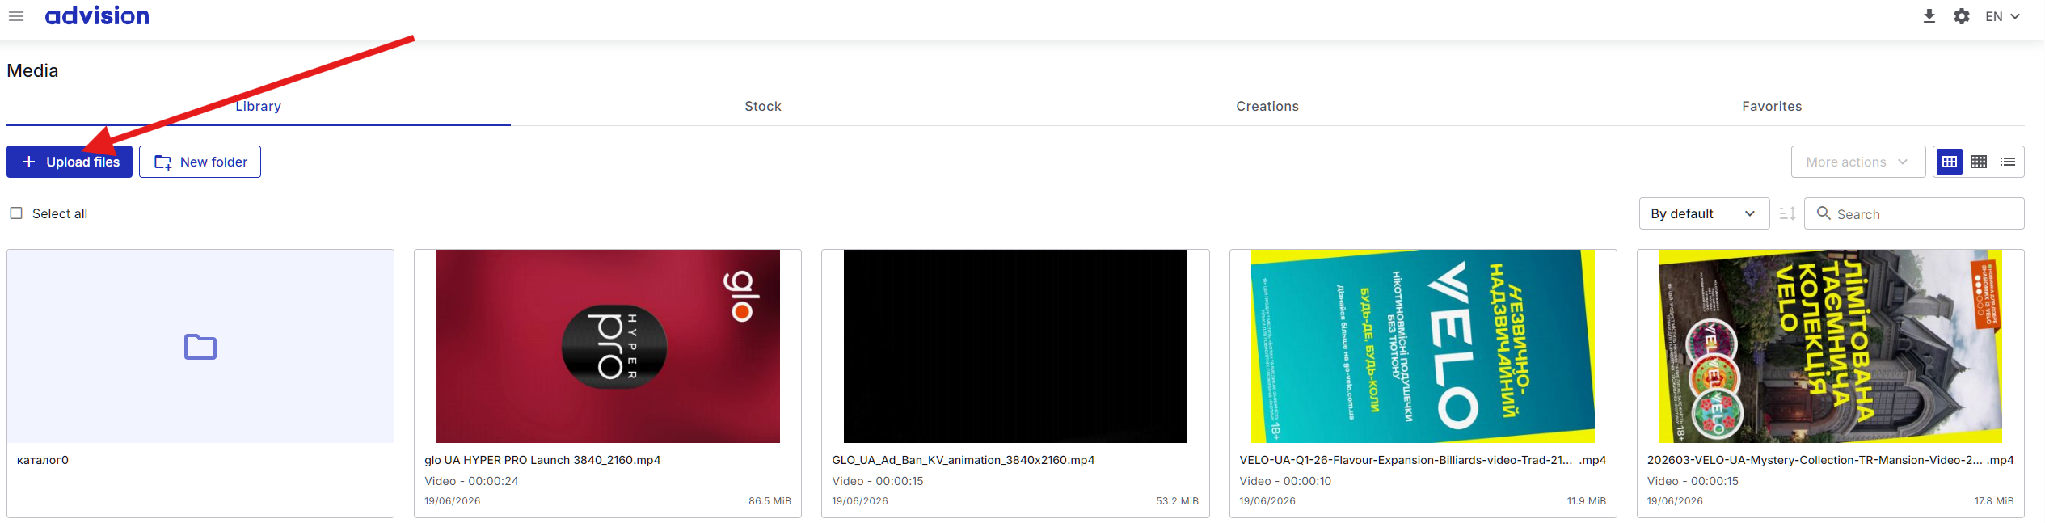
The Upload files button.
Step 2. In the Upload files window, click Upload from device, or drag and drop files into the window.
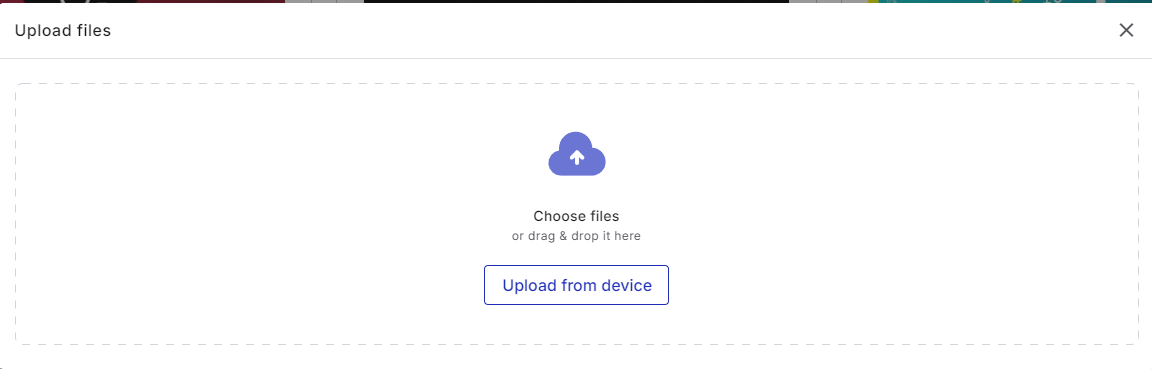
The Upload files window.
Step 3. The system opens the file browser on the local computer where one or more files can be selected for upload. After selection, the files are uploaded to the platform’s cloud storage and appear in the current directory.
After the upload completes, the files appear in the media library and become available for use in playlists.
Managing files
To organize files into folders, click the New folder button next to Upload files.

The New folder button.
In the Create new folder window, enter a folder name and click Create. The new folder appears in the current directory.
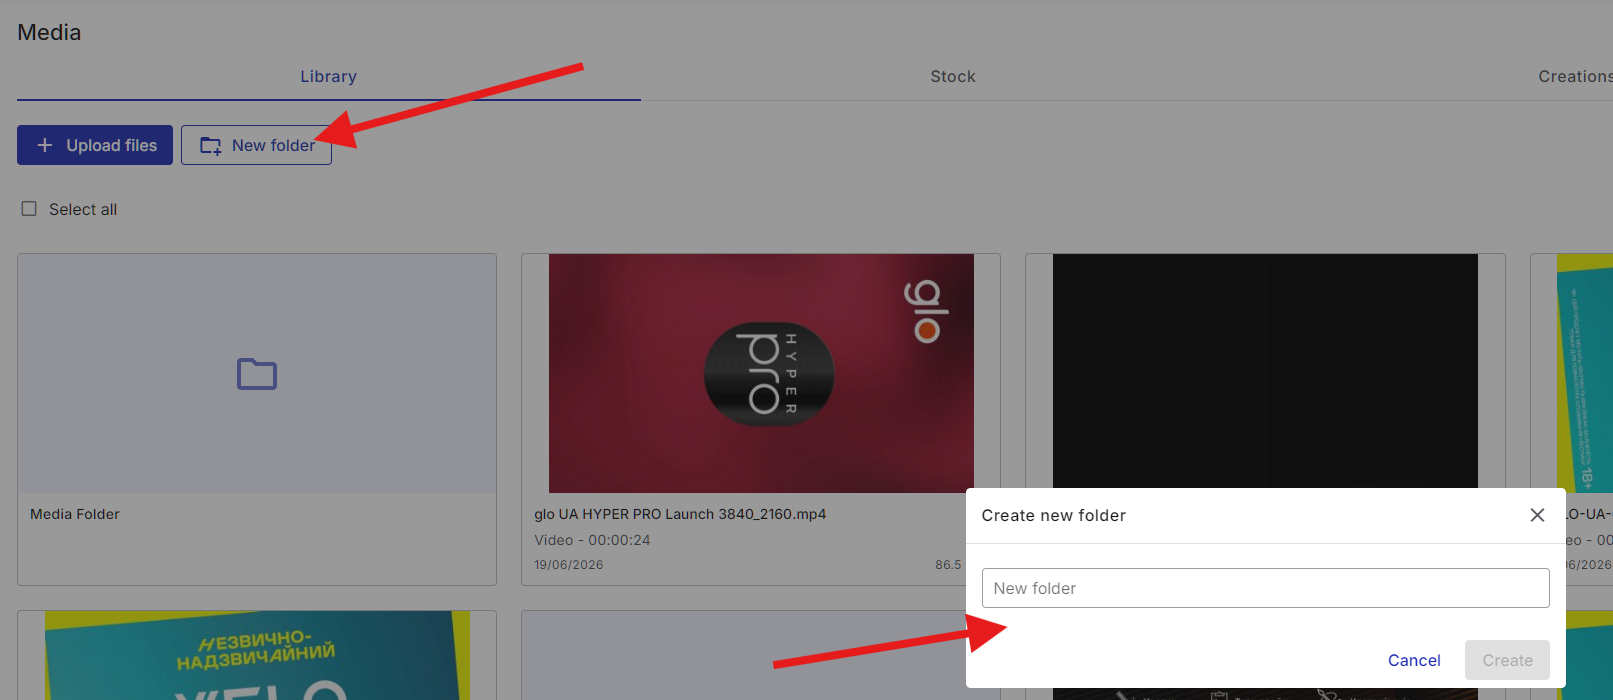
The Create new folder window.
To mark a file as favorite, hover over a file and click the star icon that appears on the file thumbnail. The file then becomes accessible through the Favorites tab for quick access. To remove a file from favorites, click the star icon again.
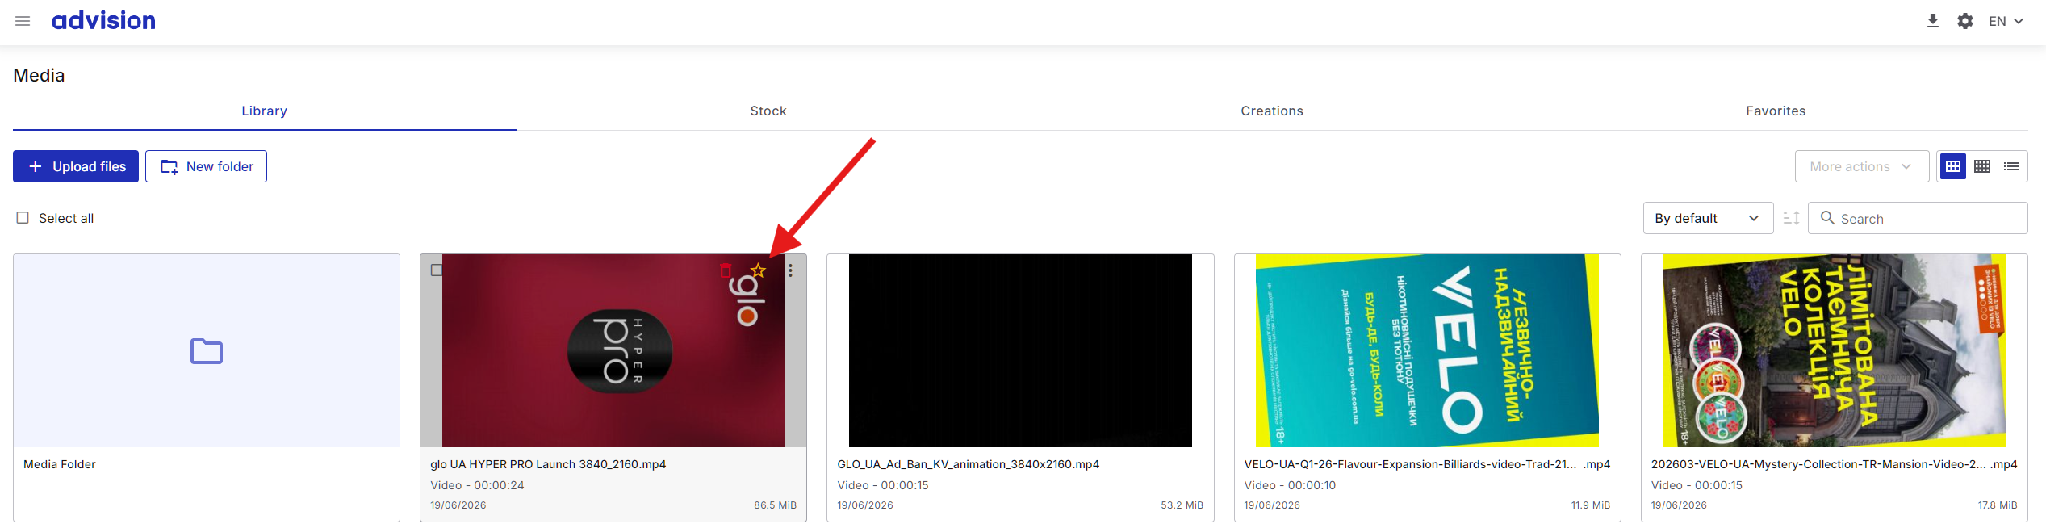
Adding a file to favorites.
The Select all checkbox above the file grid selects all files in the current view at once. When you hover over a file, individual action icons appear on the thumbnail: a checkbox for selecting the file, a red trash icon for deleting it, the star icon for favorites, and a menu with additional actions.
Library tabs
Library
The Library tab is the default view that opens when navigating to the Media section. It displays the root directory of the account’s media library with all uploaded files and folders.
Stock
To access stock media, click the Stock tab. This section contains royalty-free media files that are stored on the platform server and available for use in any content rotation. The stock media is managed by the platform’s super administrator and cannot be deleted or modified by the account users. To use stock content, simply add it to a playlist or to a device’s content in the same way as any other media file. The Stock section may contain images, videos, and other files that can be used as backgrounds or fillers without licensing restrictions.
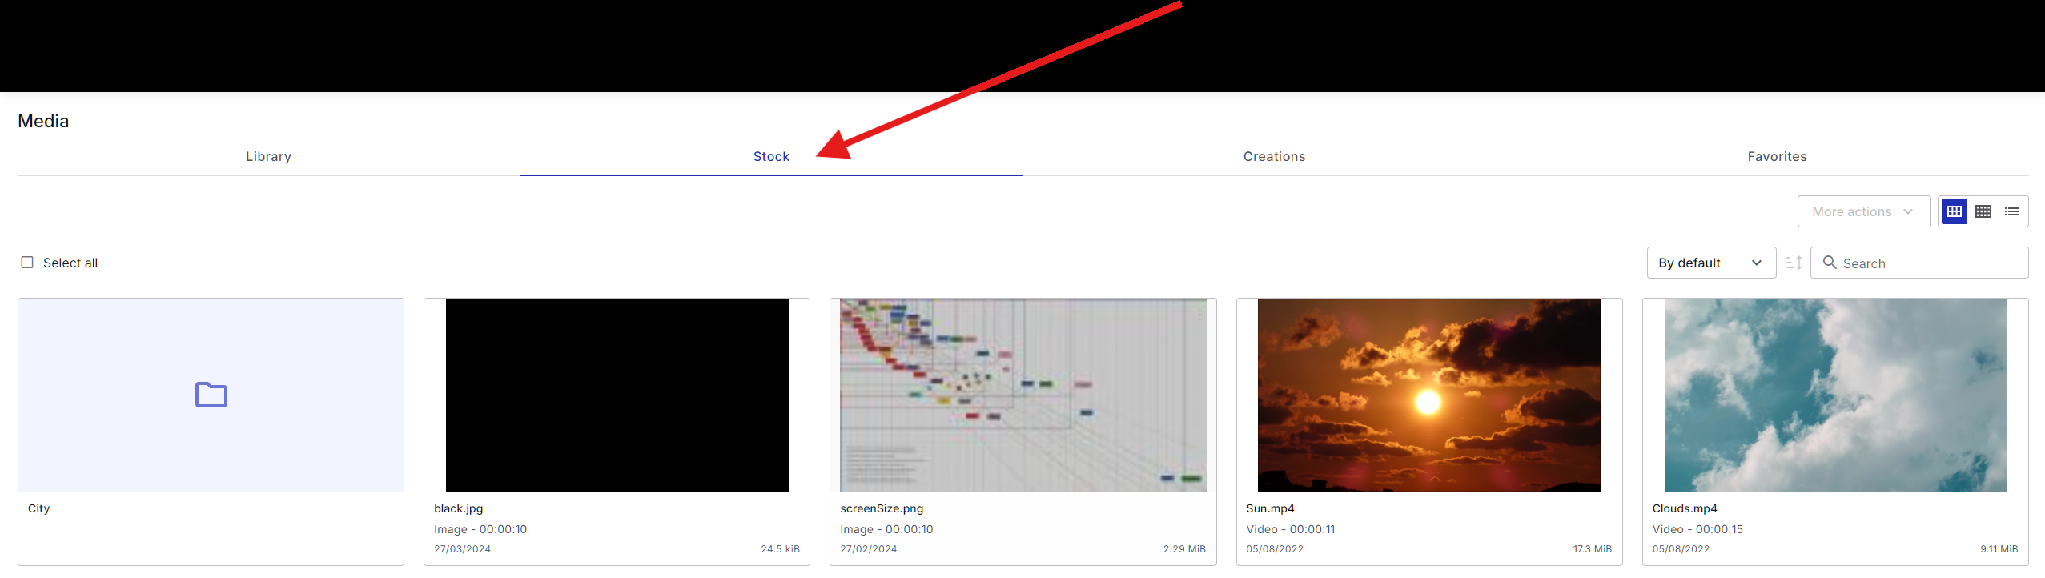
The Stock tab.
Creations
The Creations tab provides access to a built-in media creator tool. To create new content, click the Creations tab, then click the Create button and select Create in the dropdown menu. The Canva option in the same menu is currently inactive.
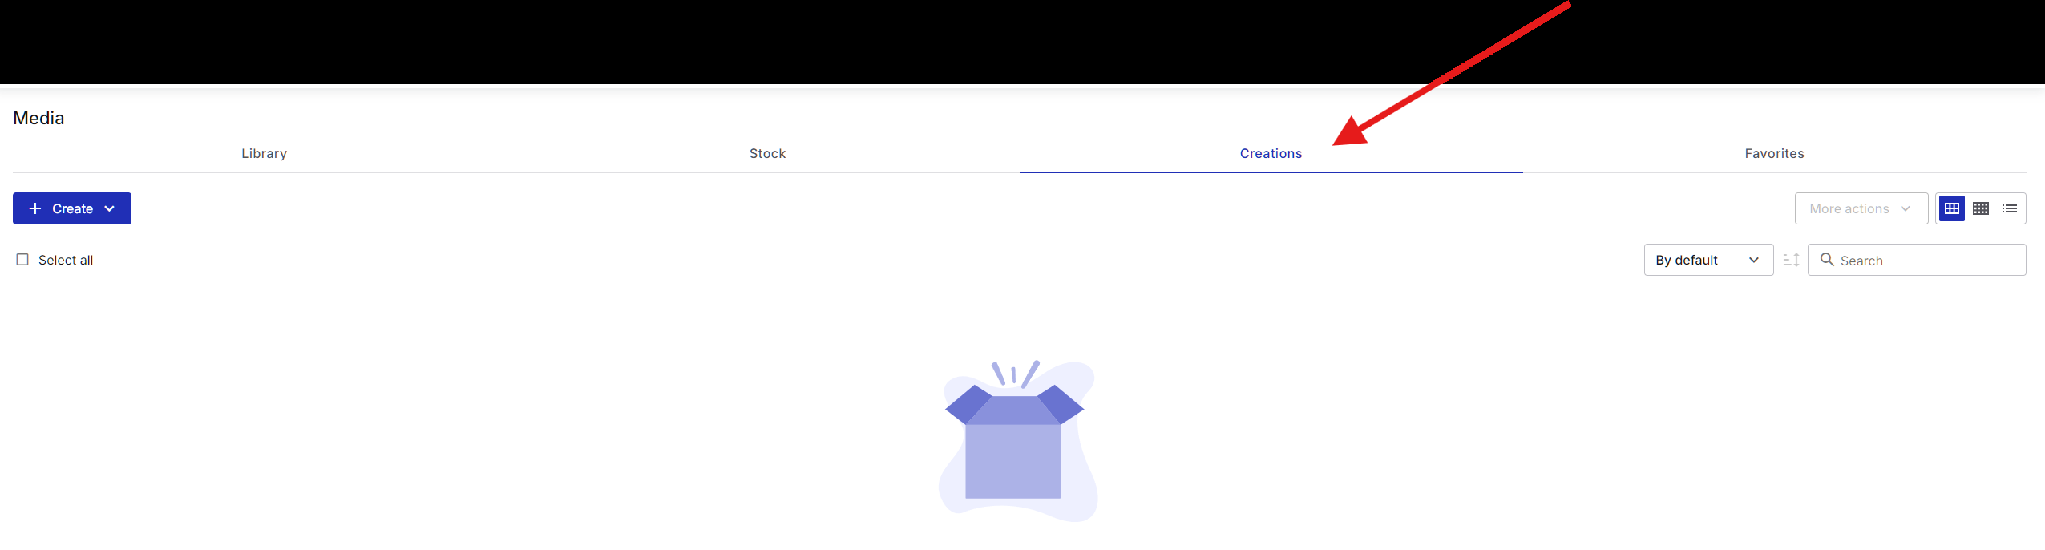
The Creations tab.
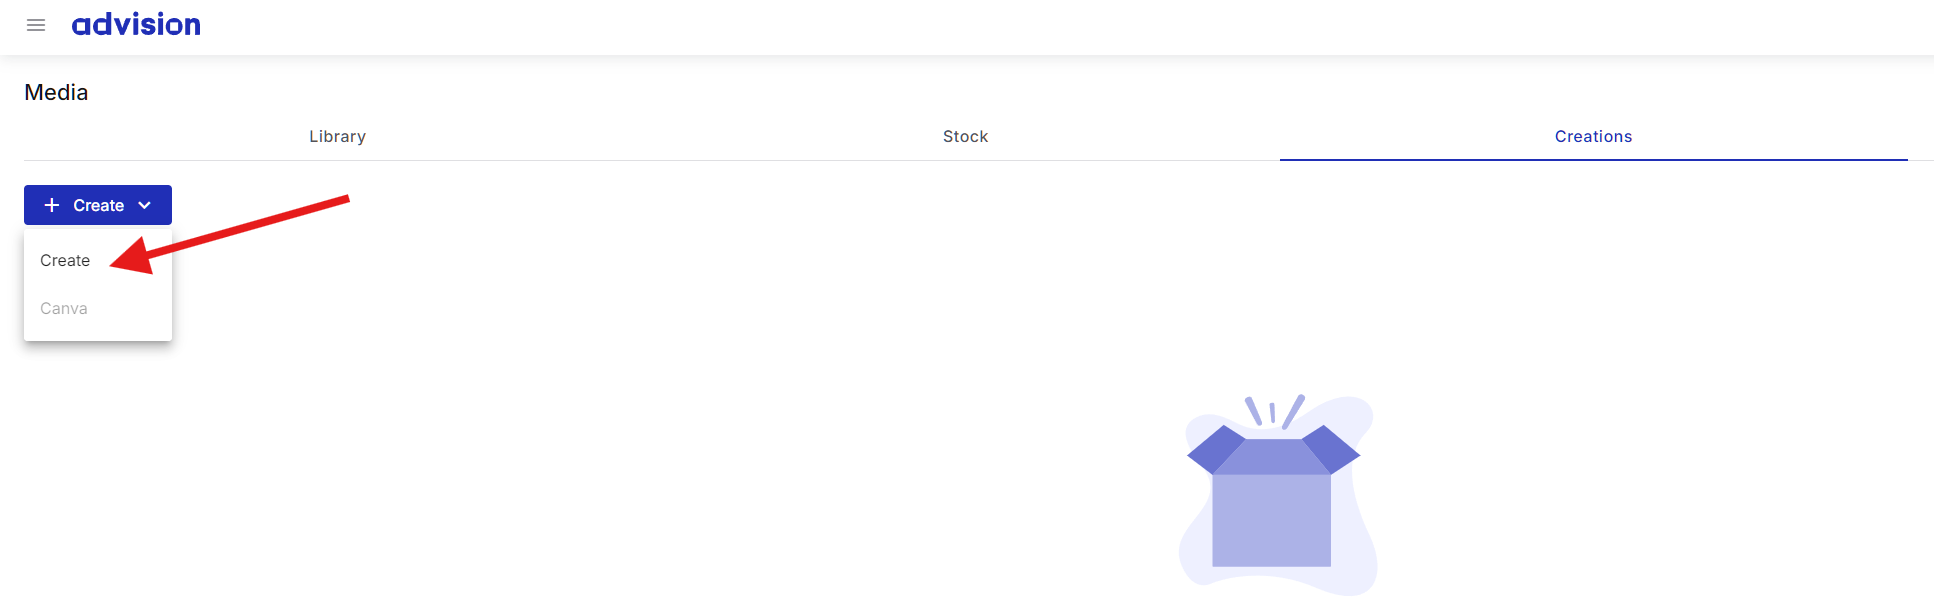
The Create menu.
The media creator opens an editor interface where a creation name, size, and duration can be set, text can be added and formatted, files can be inserted, and various elements can be arranged to compose custom content. This tool is currently in development and may receive changes in future platform updates.
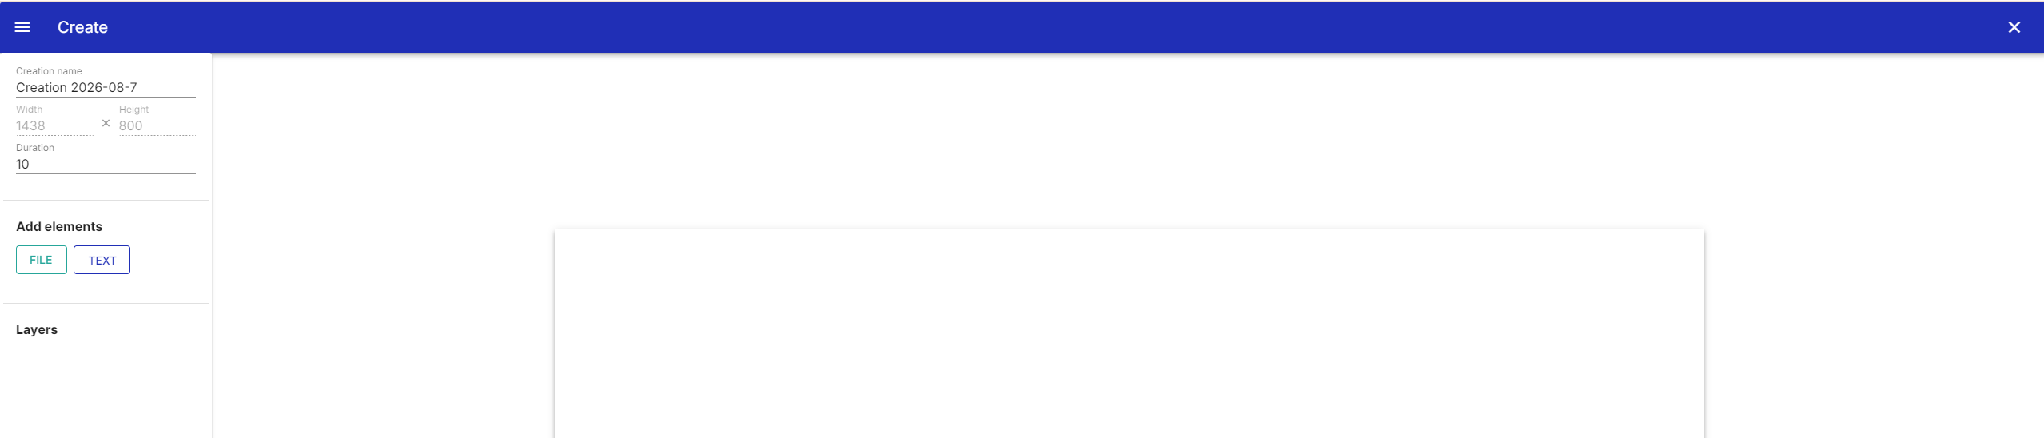
The built-in media creator.
Favorites
The Favorites tab displays only the files that have been marked as favorites. To open this view, click the Favorites tab. A per page dropdown at the bottom of the list controls how many files are displayed per page.
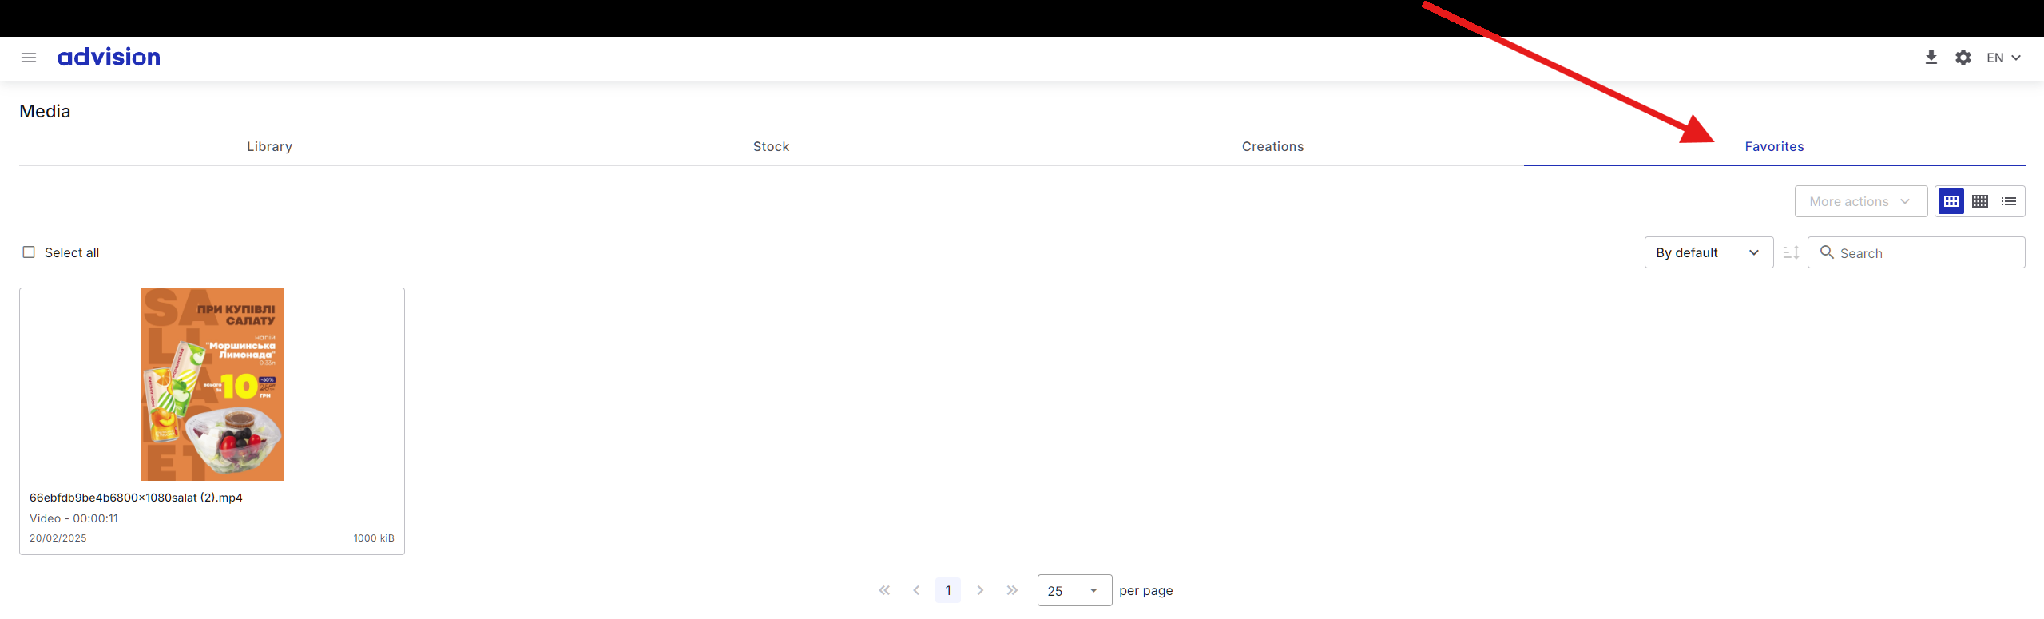
The Favorites tab.
Other content types
Besides uploaded files, the platform supports three more content types: widgets, programmatic ads, and plugins.
Widgets
The platform includes built-in dynamic content modules that display real-time data without requiring manual content updates. Available widgets include weather, clock, exchange rates, horoscope, and schedule of departures and arrivals. Widgets pull data from external sources automatically and update the displayed information on screen.
Programmatic ads (VAST)
When the SSP Connector is activated for a playlist, the platform can receive and display VAST ad creatives from connected demand-side platforms. The ad content is delivered in real time through the SSP integration and played on the device as part of the regular playlist rotation. The playlist’s own media files serve as filler content when there is no ad demand from the SSP.
Plugins
Plugins are ZIP packages containing a configuration file and application logic that enable the device to react to external API events in real time. Unlike regular content that follows a schedule, a plugin runs in the background, monitors an external data source, and when a trigger event occurs, it interrupts the regular content in its assigned screen area and displays the content it was designed for.
Plugins are uploaded to the media library like regular files and assigned to playlists. The configuration inside the ZIP package determines which API to monitor and what parameters to use. For example, the air raid alert plugin monitors an official API for regional alert status. When an alert is activated for the configured region, the plugin interrupts regular content and displays an alert notification on screen. The region is specified in the plugin’s configuration file (for example, region ID 31 for a specific area). The alert data is received through an intermediary server operated by Advision, which uses official API keys from the alert system provider to obtain real-time status updates.
At the current stage of platform development, plugins are a custom solution configured for specific client needs. The creation and configuration of new plugin types requires coordination with the Advision development team.
What's next
After your files are uploaded, create your first playlist - see the article "Creating and Configuring a Basic Playlist". To connect a screen first, see "Registering and Connecting the First Screen".