Account Activation and First Login
Account Activation and First Login
This article explains how to get access to Advision, activate your account, and log in for the first time.
How access works
Advision uses a closed registration model. The sign-up page is not publicly listed - new users either receive a direct link to the registration page from the Advision team, or have their account credentials created by the provider and sent to them directly.
A free plan is available for connecting one device. This plan has a limited set of features and is intended for initial evaluation of the platform. Paid plans with additional features, higher storage limits, and support for more devices are available depending on the client's needs.
Ways to sign in
Registration is available using an email address with a password, or through a Google account.
After registration, the user receives the Owner level - the highest privilege, with full access to all platform functions.
First login and activation
Step 1. Open the registration page using the direct link you received from the Advision team. If the provider created account credentials for you, skip to step 3 and log in with them.
Step 2. Register using an email address with a password, or press the Google button to continue with a Google account.
Step 3. On the login page, enter your Username and Password, then press LOGIN. If you forgot the password, use the Recover link. You can also turn on Remember me next time.
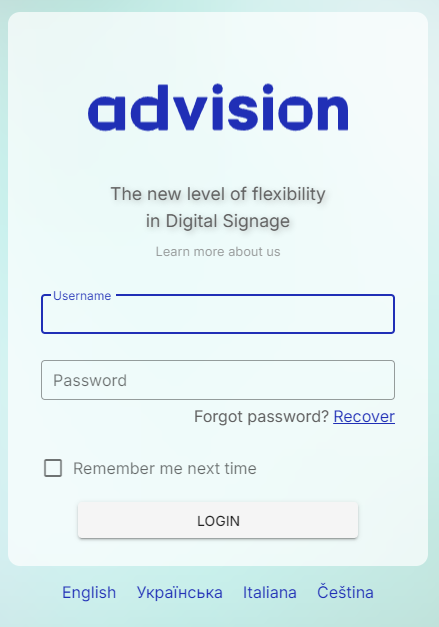
The Advision login page.
Step 4. If the platform asks you to confirm the account with an activation key after the first login, enter the key you received and confirm to continue.
|
Important. The activation key confirms your ownership of the account. Keep it in a safe place and do not share it with anyone. If the key does not work, or you did not receive one, contact the Advision team or your provider. |
Step 5. Once the account is activated, the platform shows an onboarding screen that guides the user through the first steps: installing the Advision Player application on a device, obtaining the 6-digit pairing code displayed on the device screen, and entering this code in the admin panel to bind the device to the account. The device can also be paired by scanning a QR code shown on the player screen.
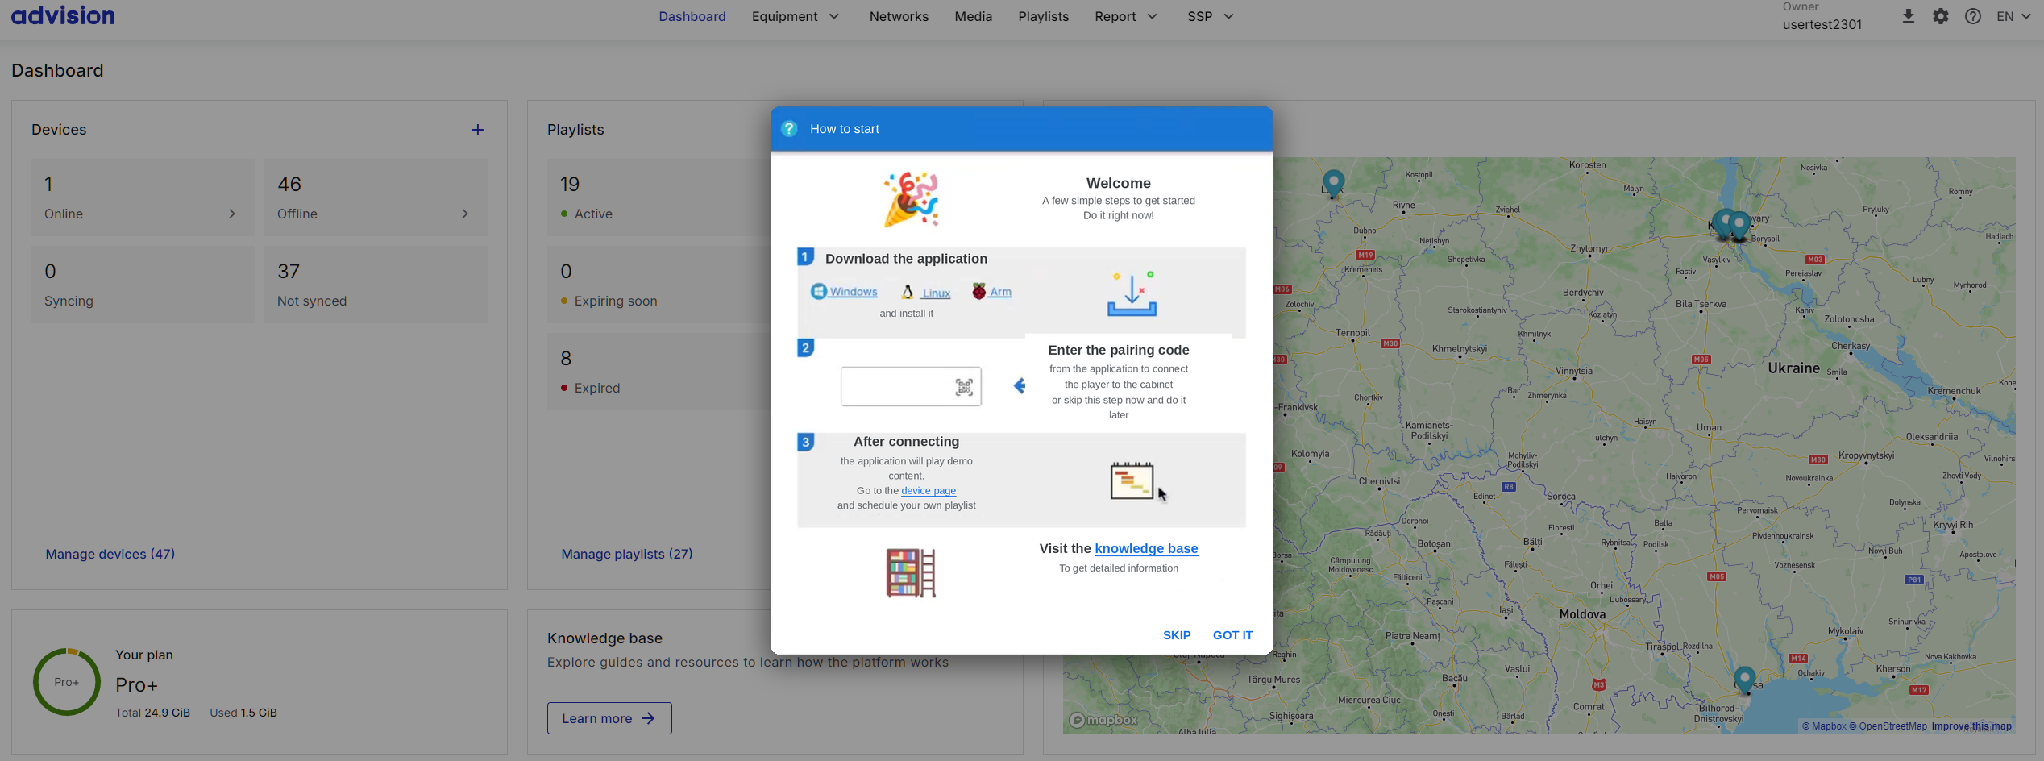
The onboarding screen shown over the Dashboard.
Step 6. The user can either follow the onboarding flow to connect the first device immediately, or skip it and proceed to the main Dashboard. If skipped, a default device entry is created automatically by the system with a prompt to enter the pairing code later.
After the first login
The Dashboard is the default landing page after login.
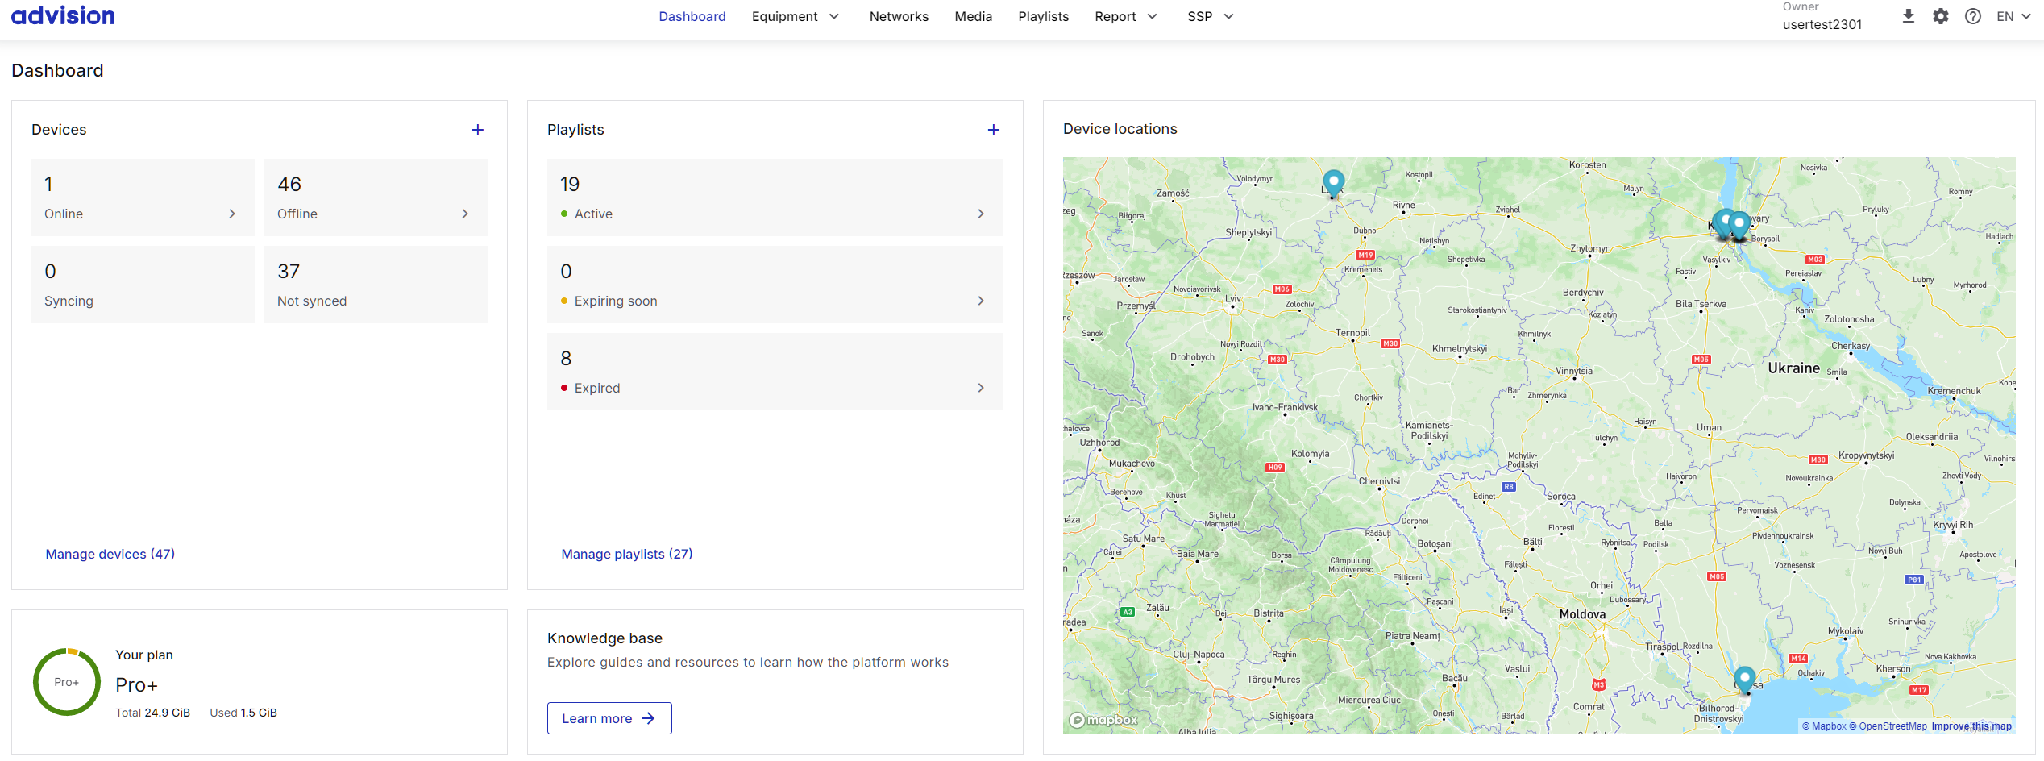
The Dashboard.
Security settings
To open the Security page, click the gear icon in the top-right corner and select Security. The same menu also contains Account, Members, Pinned left menu, and Exit.
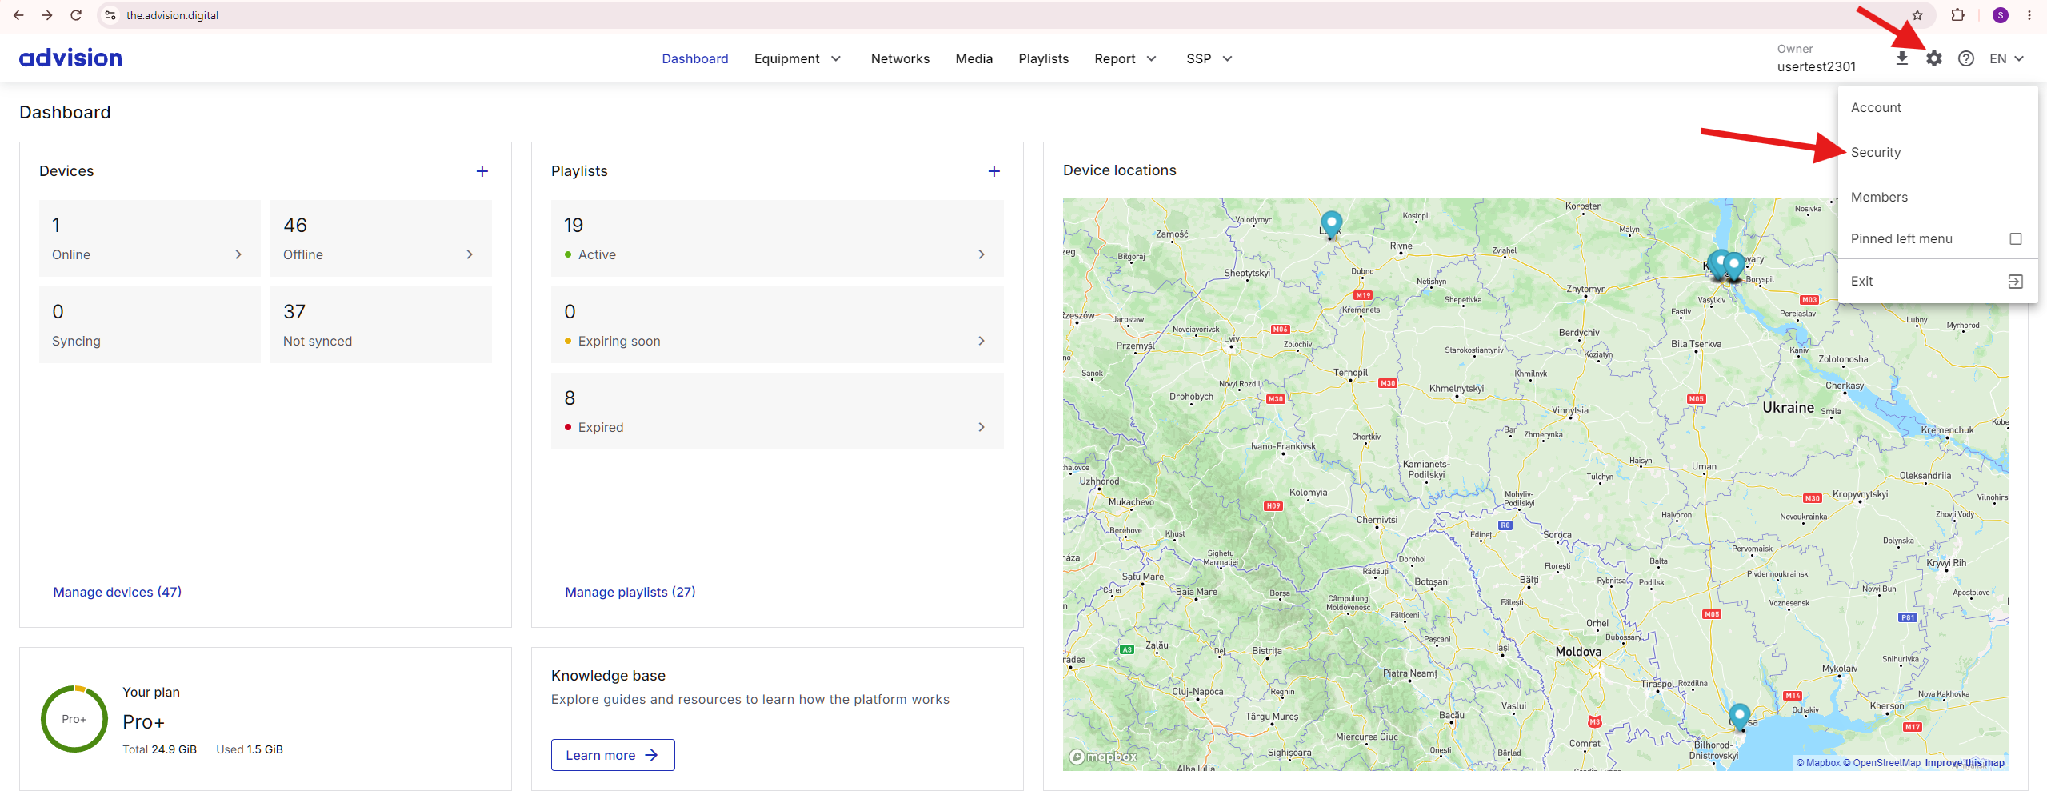
The gear menu.
At the top of the page, a header bar displays the current user's Login name, Role, and Cabinet name on the left side, and the Tariff plan name, Balance, and Screens count on the right.
The Change password section contains three fields: Current password, New password, and Repeat password. Enter the current password, then type and confirm the new one, and click SAVE to update.
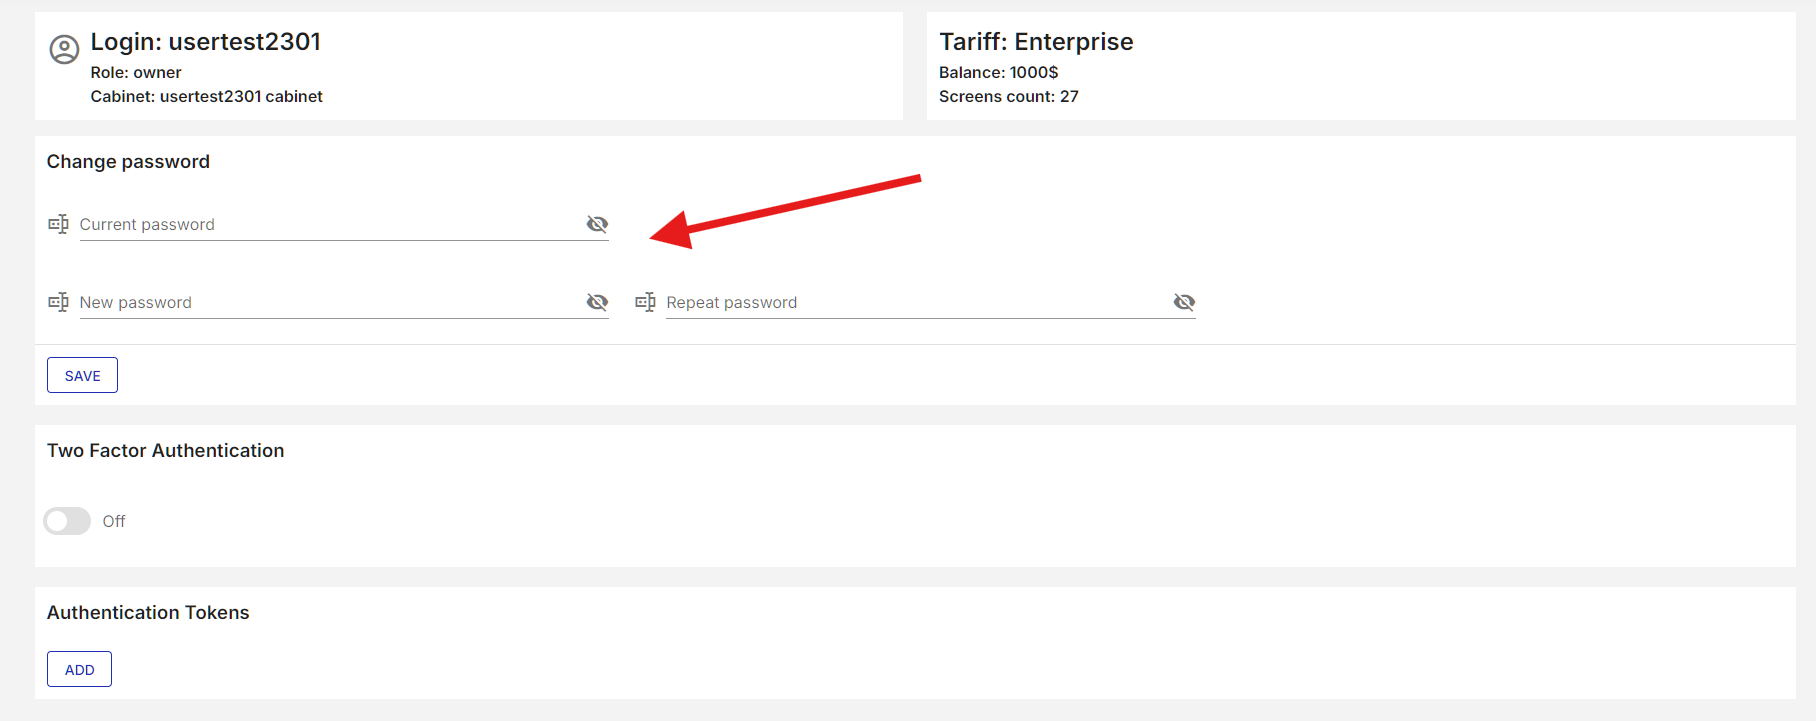
The Change password section.
The Two Factor Authentication section has a toggle that can be switched On or Off. When enabled, the platform will require a second factor (in addition to the password) when logging in, providing additional protection for the account.
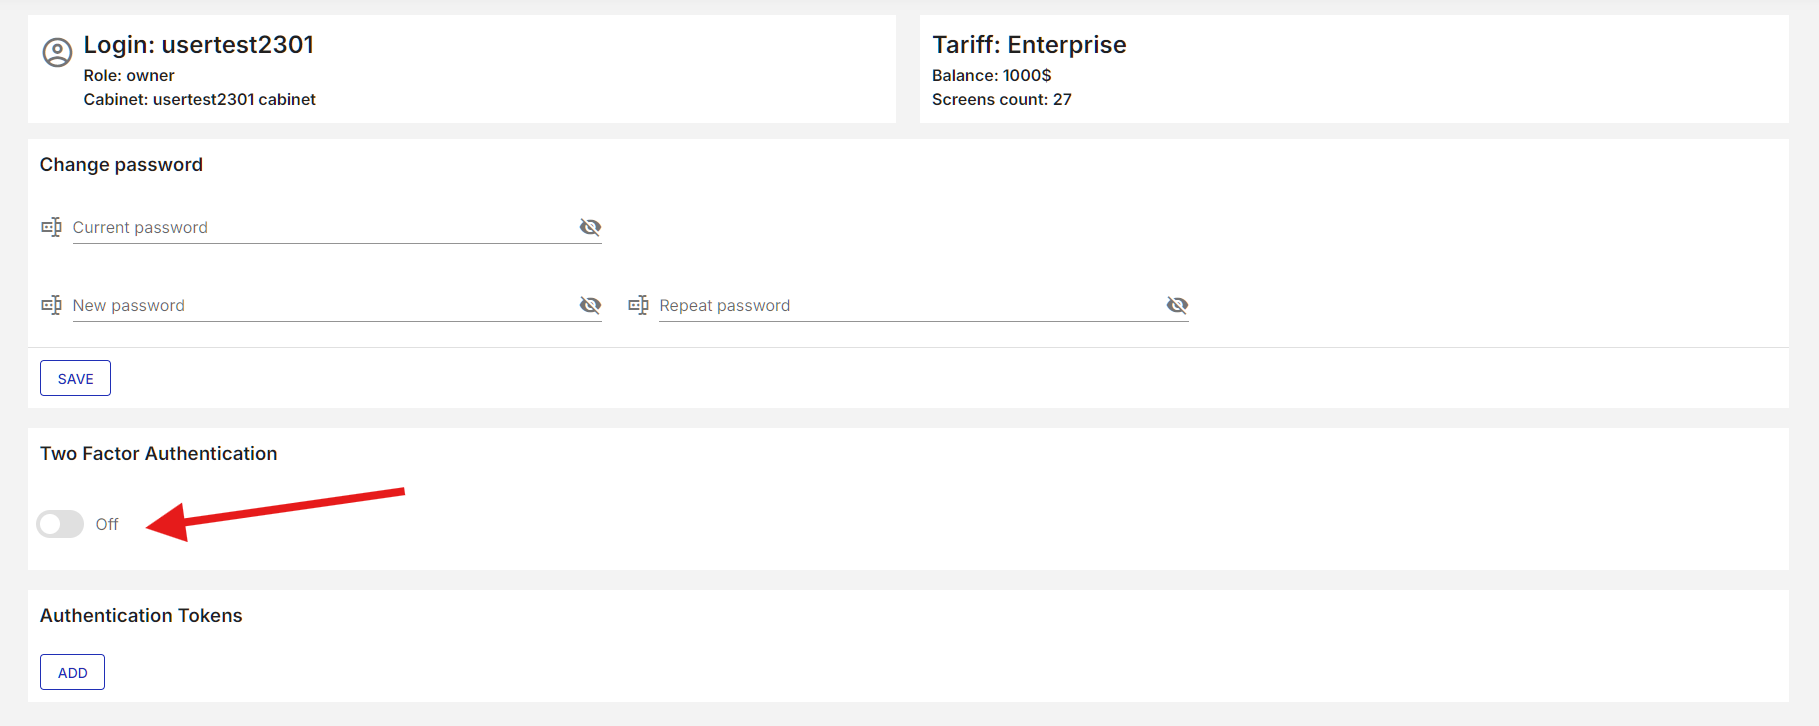
The Two Factor Authentication toggle.
When you switch the toggle On, the platform shows a QR code. Scan it with a 2FA application such as Google Authenticator or Microsoft Authenticator, enter the 6-digit code from the application in the Code field, and press APPLY.
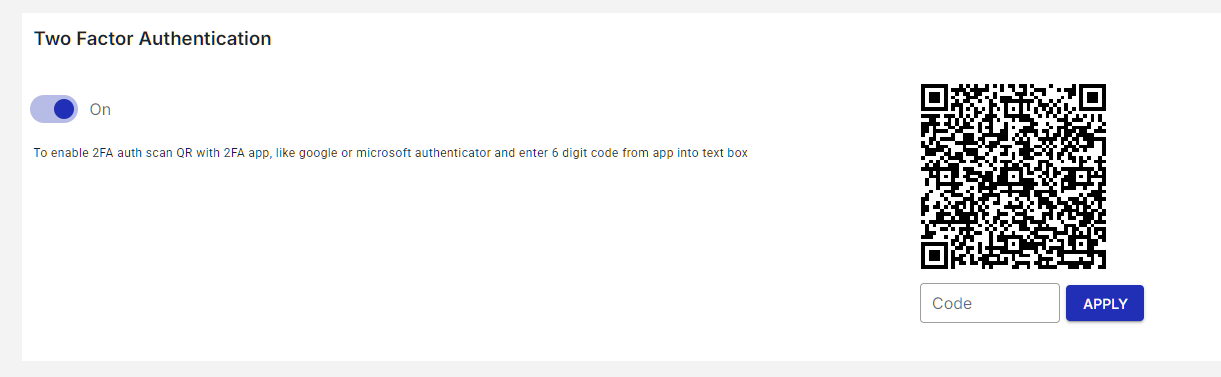
Enabling two factor authentication.
The Authentication Tokens section displays a list of API tokens and an ADD button to generate new ones. Tokens can be used for programmatic access to the platform through external integrations.

The Authentication Tokens section.
What's next
To connect your first screen, see the article "Registering and Connecting the First Screen".